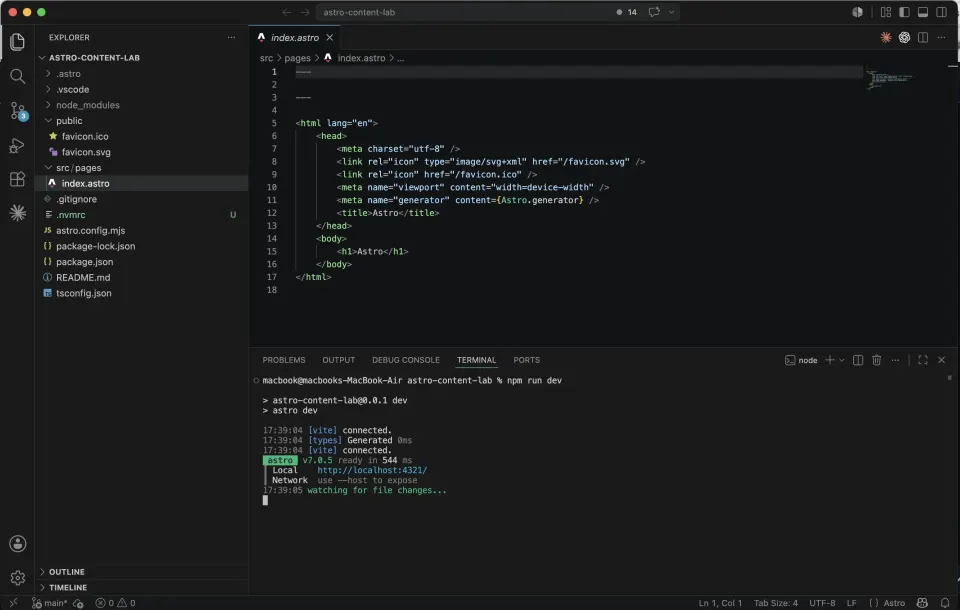
After setting up your first Astro project, you’re looking at a near-empty folder with one file: src/pages/index.astro.
That’s it. One page. No theme. No template system. Nothing.
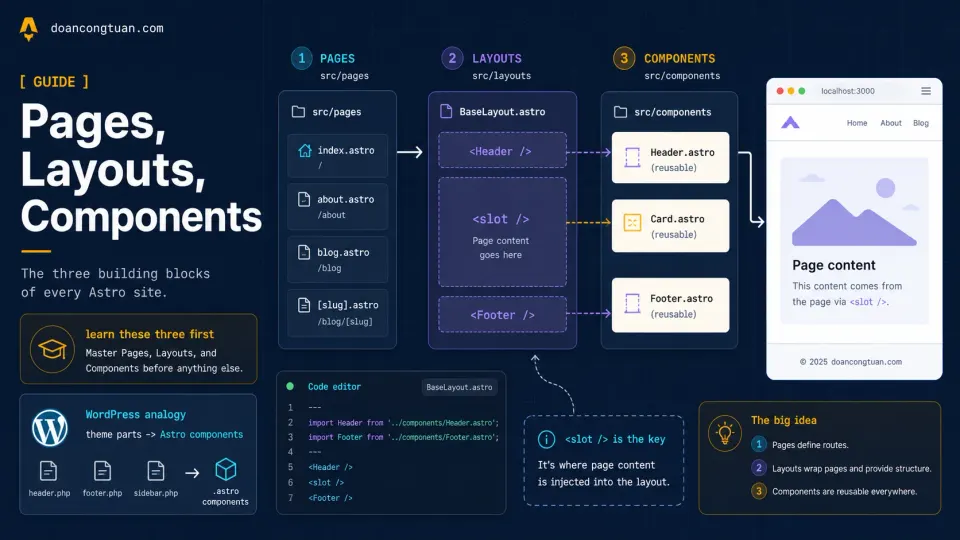
Here’s what you need to understand to build from that starting point: Astro has three core concepts, Pages, Layouts, and Components. Learn these three and you can build the foundation of a content site.
If you want the official reference while following along, Astro documents these ideas in its Pages, Routing, Layouts, and Components guides. This article explains the same ideas in the language of a WordPress developer.
Pages: Files in src/pages become routes
This is the part that surprised me first.
In WordPress, URL routing is handled by WordPress itself. It reads your permalink settings, queries the database, finds the right template, and assembles the page. You don’t create a file to get a URL.
In Astro, routing is simpler: files inside src/pages/ become routes.
For this beginner article, we will use .astro files. So every .astro file you create in src/pages/ becomes a URL automatically.
src/pages/index.astro   →   yoursite.com/
src/pages/about.astro   →   yoursite.com/about
src/pages/blog.astro    →   yoursite.com/blog
No configuration. No routing file. No permalink settings for this basic setup. Create a page file, get a URL.
Let’s create two new pages. In your terminal:
touch src/pages/about.astro
touch src/pages/blog.astro
I use touch here because I am on a macOS/Linux-style terminal. On Windows, the easiest path is to create the files directly in VS Code: right-click the pages folder, click New File.
Open src/pages/about.astro and add:
---
---
<html lang="en">
<head>
<meta charset="utf-8" />
<meta name="viewport" content="width=device-width" />
<title>About — Astro Content Lab</title>
</head>
<body>
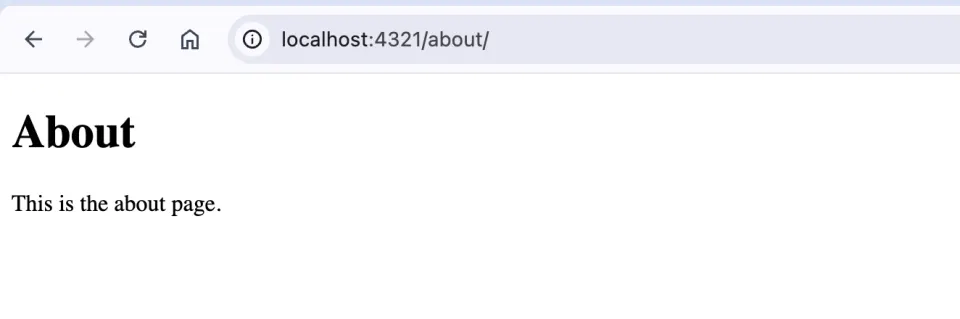
<h1>About</h1>
<p>This is the about page.</p>
</body>
</html>Save it. Go to localhost:4321/about.
The page is live. No configuration needed.
Do the same for src/pages/blog.astro:
---
---
<html lang="en">
<head>
<meta charset="utf-8" />
<meta name="viewport" content="width=device-width" />
<title>Blog — Astro Content Lab</title>
</head>
<body>
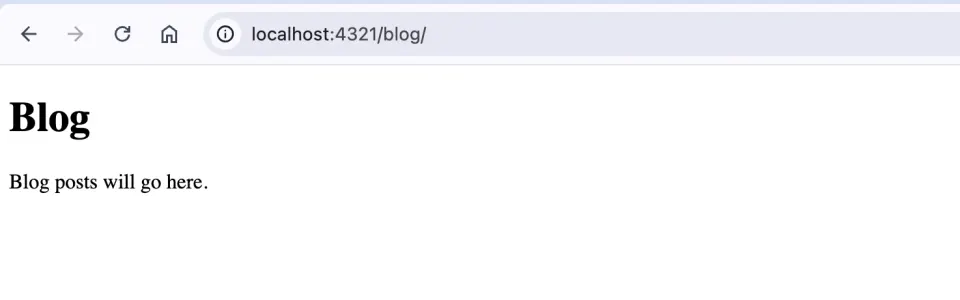
<h1>Blog</h1>
<p>Blog posts will go here.</p>
</body>
</html>Visit localhost:4321/blog. Another live page.
The problem with three separate pages
You now have three working pages. But look at the code: you’ve already written this three times.
<html lang="en">
  <head>
    <meta charset="utf-8" />
    <meta name="viewport" content="width=device-width" />
    <title>...</title>
  </head>
  <body>
    ...
  </body>
</html>
If you want to add a Google Analytics script, change the font, or add a global CSS file, you’d have to edit all three files. With a 10-page site, that’s manageable. With a 100-page site, it’s a maintenance nightmare.
This is exactly the problem that Layouts solve.
Layouts: One wrapper, shared by all pages
A Layout is a component that wraps your pages. It contains all the HTML boilerplate that every page shares, like <html>, <head>, <body>, header, footer, and leaves a placeholder for each page to inject its own content.
That placeholder is <slot />.
src/layouts is a common Astro convention. Astro does not force this exact folder name, but using it keeps a beginner project easy to understand.
Create a new folder and file:
mkdir src/layouts
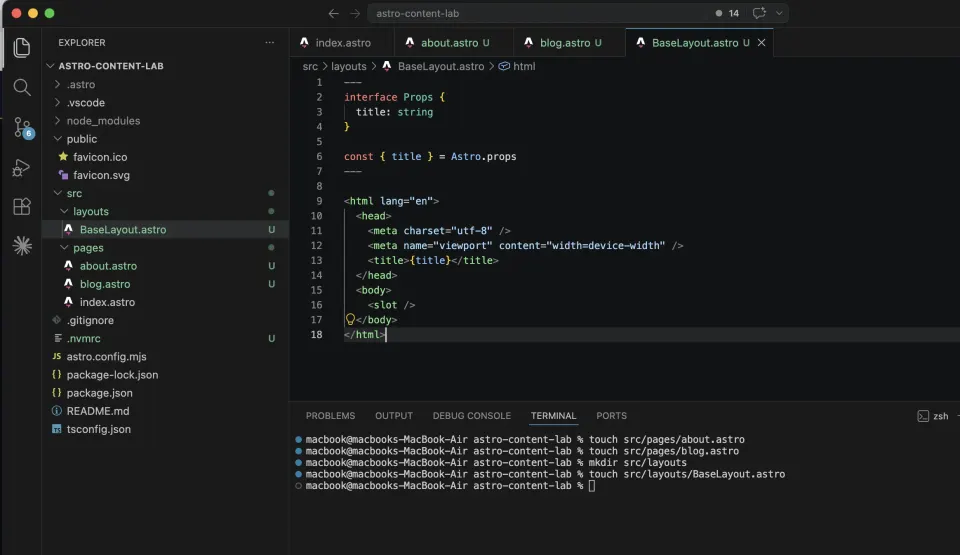
touch src/layouts/BaseLayout.astroOpen src/layouts/BaseLayout.astro and add:
---
interface Props {
  title: string
}

const { title } = Astro.props
---

<html lang="en">
  <head>
    <meta charset="utf-8" />
    <meta name="viewport" content="width=device-width" />
    <title>{title}</title>
  </head>
  <body>
    <slot />
  </body>
</html>
A few things to notice:
The frontmatter (between the --- dashes) defines a Props interface. This is TypeScript saying “this layout accepts a title prop of type string”. Then Astro.props extracts that value so you can use it in the template.
{title} in the <title> tag: curly braces render a JavaScript variable in the HTML template.
<slot />: this is where page content goes. It’s a placeholder. Whatever you put between your layout tags in a page file will appear here.
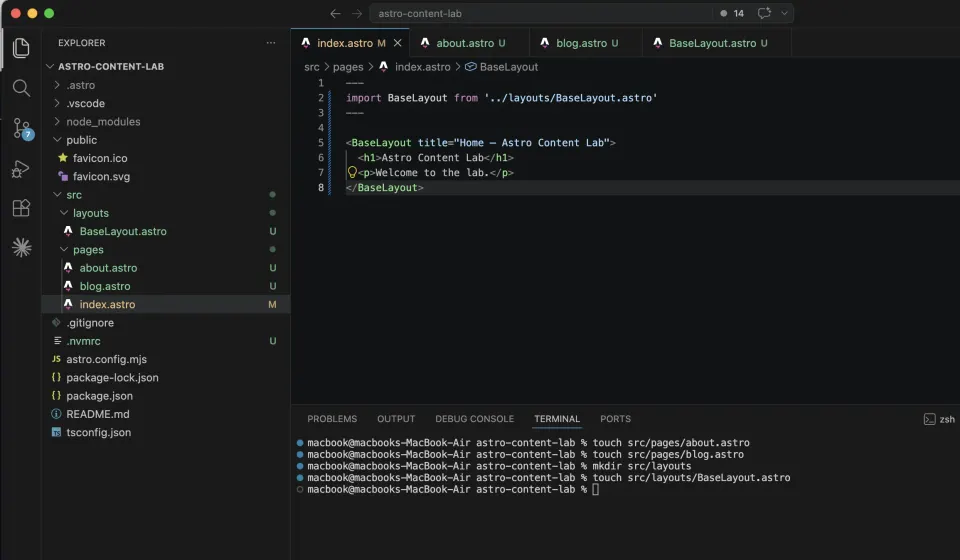
Now update src/pages/index.astro to use the layout:
---
import BaseLayout from '../layouts/BaseLayout.astro'
---
<BaseLayout title="Home — Astro Content Lab">
<h1>Astro Content Lab</h1>
<p>Welcome to the lab.</p>
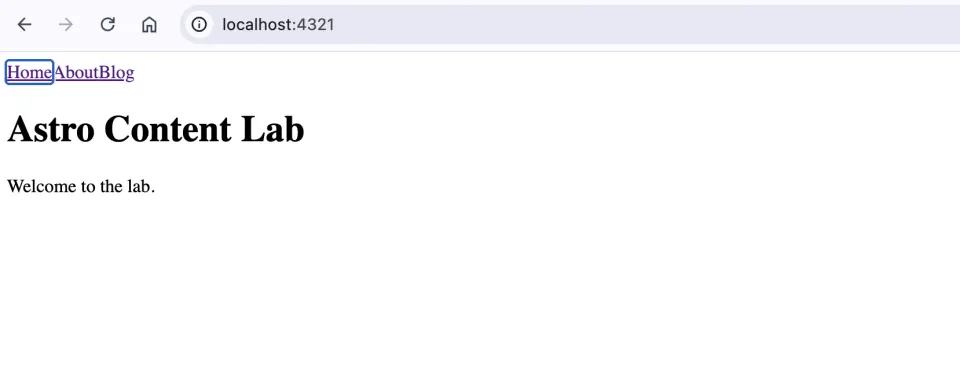
</BaseLayout>Save it. Open localhost:4321. The page should look the same, but now the HTML wrapper comes from the layout, not the page file.
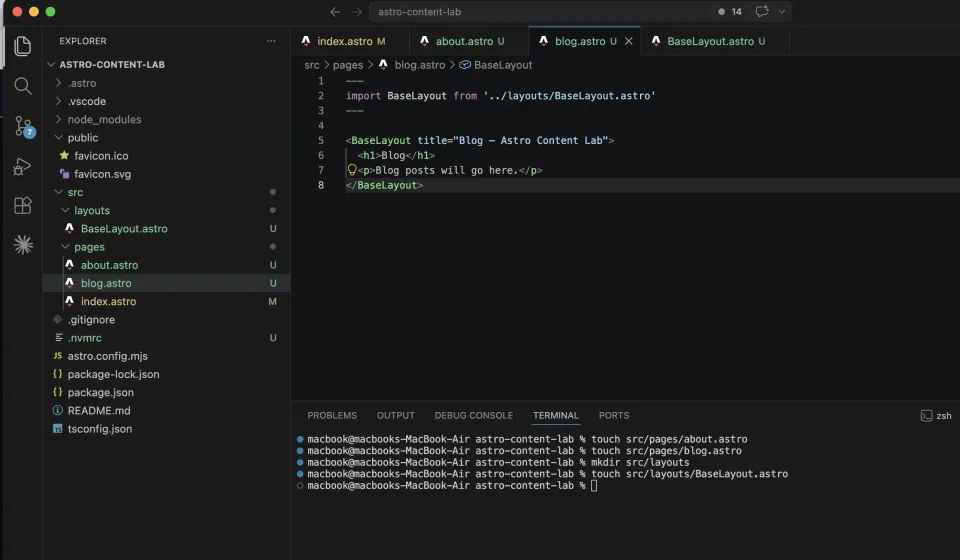
Update about.astro and blog.astro to use the layout too:
---
import BaseLayout from '../layouts/BaseLayout.astro'
---

<BaseLayout title="About — Astro Content Lab">
  <h1>About</h1>
  <p>This is the about page.</p>
</BaseLayout>
---
import BaseLayout from '../layouts/BaseLayout.astro'
---
<BaseLayout title="Blog — Astro Content Lab">
<h1>Blog</h1>
<p>Blog posts will go here.</p>
</BaseLayout>Now all three pages share the same HTML wrapper. Change anything in BaseLayout.astro, a font, a script, a meta tag, and it updates everywhere at once.
Components: Reusable UI pieces
You have a layout. Now let’s add a navigation menu.
You could put the nav directly in BaseLayout.astro. But navigation is a self-contained piece of UI. It has its own HTML, its own styles, its own logic. Better to give it its own file.
That’s a Component.
Components in Astro are .astro files that represent a piece of UI. They can be used anywhere: in layouts, in pages, inside other components.
src/components is also a convention. You could organize components differently later, but for this series we will keep the boring, predictable structure.
Create a components folder and a Header file:
mkdir src/components
touch src/components/Header.astro
Open src/components/Header.astro:
---
---
<header>
<nav>
<a href="/">Home</a>
<a href="/about">About</a>
<a href="/blog">Blog</a>
</nav>
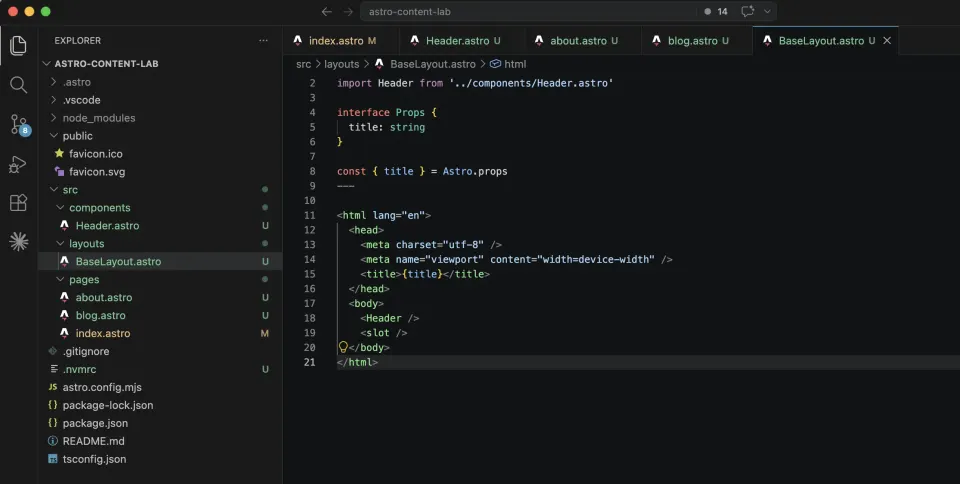
</header>Now import and use it in BaseLayout.astro:
---
import Header from '../components/Header.astro'

interface Props {
  title: string
}

const { title } = Astro.props
---

<html lang="en">
  <head>
    <meta charset="utf-8" />
    <meta name="viewport" content="width=device-width" />
    <title>{title}</title>
  </head>
  <body>
    <Header />
    <slot />
  </body>
</html>
Save both files. Every page now has navigation, without touching a single page file.
The complete picture
Here’s what you’ve built and how the pieces connect:
BaseLayout.astro       ← shared HTML wrapper
    ├── Header.astro   ← nav component (imported into layout)
    └── <slot />       ← page content goes here

index.astro            ← uses BaseLayout, passes title prop
about.astro            ← uses BaseLayout, passes title prop
blog.astro             ← uses BaseLayout, passes title prop
The flow when someone visits /about:
- Astro finds
src/pages/about.astro about.astrousesBaseLayout, so Astro renders the layoutBaseLayoutimportsHeader, so Astro renders the headerBaseLayouthas<slot />, so Astro fills it with the content fromabout.astro- The result is a complete HTML page sent to the browser
In the default static setup we are using in this series, this happens at build time, not when someone visits. The HTML is pre-built and ready to serve.
How this compares to WordPress themes
If you’ve built WordPress themes, this structure should feel familiar:
| WordPress | Astro equivalent |
|---|---|
header.php | Header.astro component |
footer.php | Footer.astro component |
get_header() in templates | <Header /> in layout |
| Page template files | src/pages/*.astro |
the_content() in templates | <slot /> in layout |
get_template_part() | Component imports |
The concepts map directly. The main difference: WordPress assembles pages at request time using PHP. In the default static Astro setup used here, Astro assembles pages at build time. The output, HTML, is the same.
Your project structure now
After this article, your project should look like this:
astro-content-lab/
├── src/
│   ├── pages/
│   │   ├── index.astro    ← /
│   │   ├── about.astro    ← /about
│   │   └── blog.astro     ← /blog
│   ├── layouts/
│   │   └── BaseLayout.astro
│   └── components/
│       └── Header.astro
├── public/
├── astro.config.mjs
└── package.json
This structure, pages, layouts, components, is the foundation of every Astro project, from a simple blog to a full content site. The next article adds CSS to make it actually look good.
What this article does not cover yet
This article only covers static pages, one shared layout, and one simple component. It does not cover dynamic routes, Markdown/MDX blog posts, Content Collections, nested layouts, or CMS-driven content yet.
Those come later in the series.
For styling, the next article will cover how component-scoped CSS and global CSS work in Astro. The official Astro styling guide is the reference I use when checking the details.
Common mistakes
Forgetting to save the file.
Hot reload only works when the file is saved. If your changes aren’t showing up, check for the unsaved indicator in VS Code: a dot next to the filename in the tab. Cmd + S to save.
Wrong import path.
If you move a file, update the import paths. ../layouts/BaseLayout.astro means “go up one folder, then into layouts folder, then BaseLayout.astro”. Get the path wrong and you’ll see an import error.
<slot /> vs <slot></slot>.
Both work. <slot /> is the self-closing shorthand. Use whichever you prefer.
Putting styles in the wrong place.
CSS written inside a <style> tag in an .astro file is scoped to that component only. It won’t affect other components. CSS you want to apply globally needs to go in a separate global.css file and be imported in the layout, covered in the next article.