Quick command version
npm create astro@latest astro-content-lab
cd astro-content-lab
echo "24" > .nvmrc
npm run dev
Then open:
http://localhost:4321At this stage, nothing is online yet. You are only running the site on your own computer.
| Task | Command |
|---|---|
| Create Astro project | npm create astro@latest astro-content-lab |
| Enter project folder | cd astro-content-lab |
| Set Node version | echo "24" > .nvmrc |
| Start dev server | npm run dev |
| Open local site | http://localhost:4321 |
| Open VS Code | code . |
The first time I set up an Astro project, I expected it to feel like installing a WordPress theme.
It didn’t.
Not because it was harder. The mental model is completely different. WordPress setup happens in a browser. You pick a host, click “install WordPress”, choose a theme, and you’re looking at a dashboard in 10 minutes.
Astro setup happens on your laptop. In a terminal. With a dev server that you have to keep running. And a folder structure that doesn’t look like anything from the WordPress world.
Once that shift clicks, the rest is straightforward. This guide walks you through every step, including the parts that tripped me up the first time.
Prerequisites
Before running any commands, check that you have:
Node.js 22.12.0 or higher. Astro needs Node.js to run. For this series, I use Node.js 24 LTS. The official Astro installation guide is the best place to check the current setup requirements.
Check your version:
node -v
npm -v
If you see something like v24.x.x for Node and 11.x.x for npm, you’re good.

If Node isn’t installed, download the LTS version from nodejs.org.
A terminal. On Mac, that’s Terminal or iTerm2. On Windows, PowerShell or Windows Terminal. If you’ve ever SSH’d into a VPS, you already know what you need.
VS Code. Not strictly required, but strongly recommended. Install it from code.visualstudio.com. We’ll set it up properly later in this article.
Step 1: Create your Astro project
Open your terminal, navigate to where you want to create your project, and run:
npm create astro@latest astro-content-labThis command does two things at once: it starts Astro’s setup wizard and passes astro-content-lab as the project folder name.
Astro will ask you a few questions. Answer them like this:
- Where should we create your new project? → Confirm
./astro-content-labif Astro asks - How would you like to start your new project? → Choose
Empty - Install dependencies? →
Yes - Do you plan to write TypeScript? →
Yes - How strict should TypeScript be? →
Strict - Initialize a new git repository? →
Yes
When it finishes, you’ll see something like:
astro  v6.x.x ready
✔  Project initialized!
   ■ Template copied
   ■ Dependencies installed
   ■ Git initialized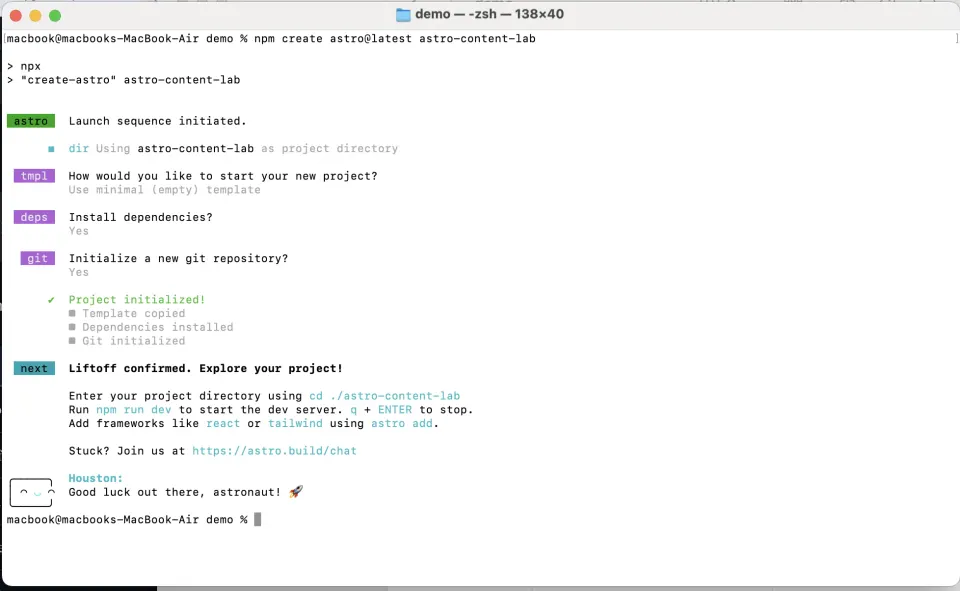
Now enter the project folder:
cd astro-content-labI also like to create a .nvmrc file so the project clearly says which Node.js version it expects:
echo "24" > .nvmrcThis is not required for Astro to run, but it keeps the project consistent when you come back later or deploy it somewhere else.
Step 2: Start the dev server
Make sure you’re inside the project folder, then start the dev server:
npm run devYou’ll see something like this:
astro  v6.4.7 ready in 499 ms
┃ Local    http://localhost:4321/
┃ Network  use --host to expose
watching for file changes...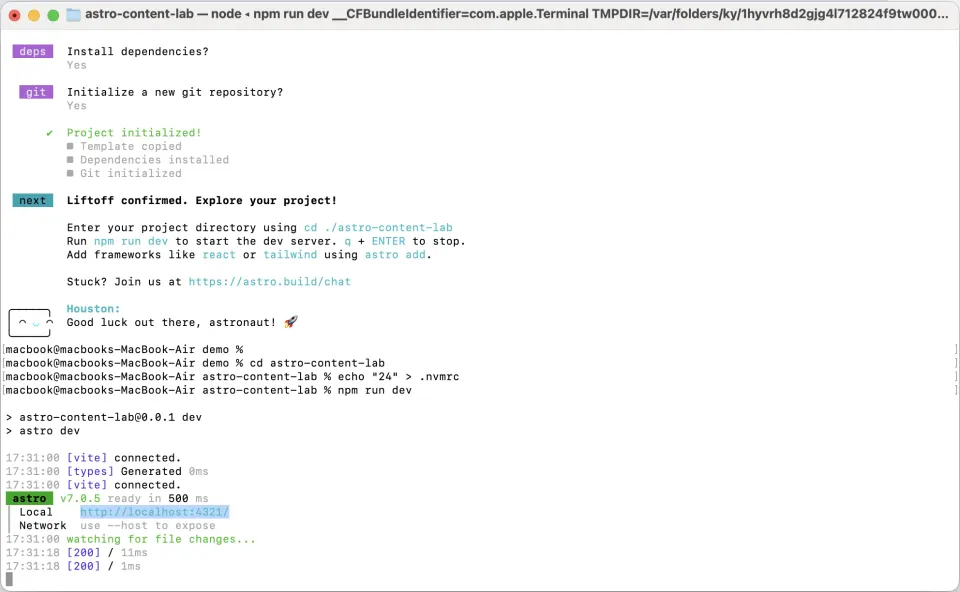
Then nothing else happens. The terminal just sits there.
This confused me the first time. I thought something had crashed.
It hadn’t. That terminal output means the server is running and waiting. Open your browser and go to:
http://localhost:4321You should see the Astro default page.
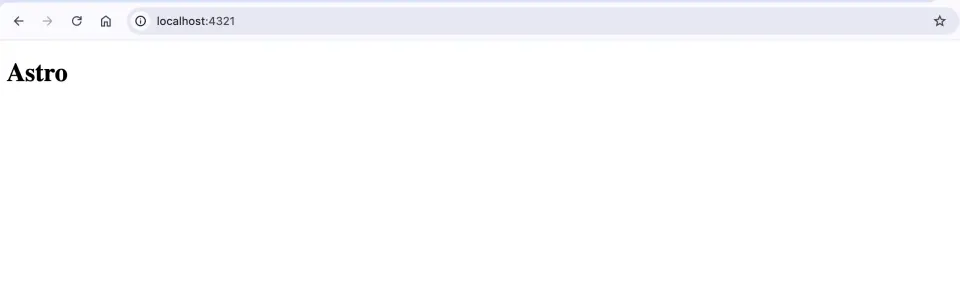
Important: localhost:4321 is only accessible on your own machine. It’s not live on the internet. Think of it as a preview server: what your site looks like before you deploy.
Step 3: Open the project in VS Code
Open a new terminal tab (don’t close the one running the dev server) and run:
code .This opens the entire project folder in VS Code.
Before editing many Astro files, install the official Astro VS Code extension for syntax highlighting and better editor support.
Once VS Code is open, you’ll see the project structure in the left sidebar. One useful detail: VS Code has a built-in terminal.
Press Ctrl + ` (backtick) to open it. You’ll see the same terminal you were using before, with the same commands and the same folder.

Step 4: Understand the folder structure
Open the project in VS Code and you’ll see:
astro-content-lab/
├── src/
│   └── pages/
│       └── index.astro    ← your home page
├── public/                ← static files (images, favicon)
├── astro.config.mjs       ← Astro configuration
├── package.json           ← dependencies and scripts
├── tsconfig.json          ← TypeScript configuration
└── .nvmrc                 ← Node.js version for this project
For WordPress developers, here’s how this maps:
| WordPress | Astro equivalent |
|---|---|
wp-content/themes/ | src/ |
index.php | src/pages/index.astro |
functions.php | astro.config.mjs |
wp-content/uploads/ | public/ |
wp-admin/ | (doesn’t exist yet) |
The key difference: in WordPress, your theme files are templates that get assembled with database content at request time. In Astro, your .astro files are components that get compiled to HTML at build time.
Same concept, different execution.
Step 5: Look at your first .astro file
Open src/pages/index.astro. You’ll see:
---
---

<html lang="en">
  <head>
    <meta charset="utf-8" />
    <meta name="viewport" content="width=device-width" />
    <title>Astro</title>
  </head>
  <body>
    <h1>Astro</h1>
  </body>
</html>
An .astro file has three parts:
The frontmatter (between the --- dashes): JavaScript/TypeScript that runs on the server at build time. Import components, fetch data, declare variables, all here.
The HTML template: Everything below the second ---. Standard HTML with the ability to use variables from the frontmatter.
Scoped styles (optional): A <style> tag at the bottom. CSS written here only applies to this component, it doesn’t leak into other pages.
Try editing something. Change <title>Astro</title> to <title>Astro Content Lab</title> and <h1>Astro</h1> to <h1>Astro Content Lab</h1>. Save the file.
Your browser should update automatically without refreshing. That’s Astro’s hot reload: every save reflects instantly in the browser.
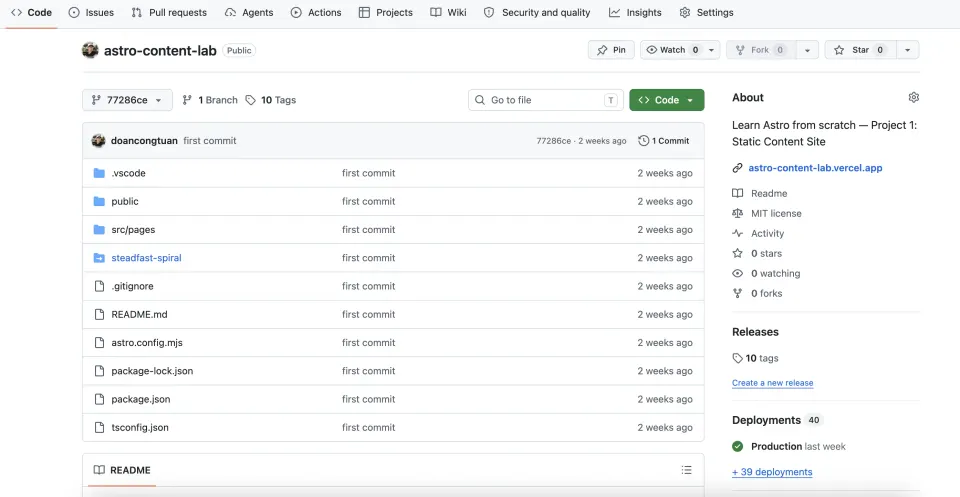
Step 6: Push to GitHub
You have a running project. Now put it on GitHub so you have a backup, a history, and a path to deployment.
Create a GitHub repo:
- Go to GitHub and click New repository
- Name it
astro-content-lab - Set it to Public
- Do NOT check “Add a README” or any other options, since your project already has these
- Click Create repository
GitHub will show you a page with setup commands. Since Astro already initialized git for you, use the “push an existing repository” commands:
git remote add origin https://github.com/YOUR-USERNAME/astro-content-lab.git
git branch -M main
git push -u origin main
Replace YOUR-USERNAME with your actual GitHub username.
If the push asks for authentication, GitHub will walk you through it, usually a browser login or a personal access token.
Pushing to GitHub does not make the site live yet. It only stores your code online and gives you version history. Deployment comes later.
What you have now
After completing these steps, you have:
- An Astro project running locally at
localhost:4321 - A
src/pages/index.astrofile, your home page - A GitHub repo with your code versioned and backed up
- VS Code set up with the integrated terminal
- A
.nvmrcfile ensuring consistent Node.js versions - A basic understanding of how Astro’s local workflow differs from WordPress
This is the foundation. Everything in this series builds on top of it.
The next article covers the three core concepts that make Astro tick: Pages, Layouts, and Components, and why understanding them changes how you think about building websites.
What this article does not cover yet
This article only gets your Astro project running locally and saved to GitHub. It does not cover deployment, custom domains, hosting, CMS, content collections, or TinaCMS yet.
Those come later in the series.
Troubleshooting
npm: command not found
Node.js isn’t installed or isn’t in your PATH. Download Node.js from nodejs.org and restart your terminal.
code . opens nothing or gives an error
You need to install the shell command in VS Code. See Step 3 above.
localhost:4321 shows “This site can’t be reached”
The dev server isn’t running. Make sure npm run dev is running in a terminal and hasn’t been stopped.
Git push asks for a password GitHub no longer accepts passwords for CLI authentication. Use a Personal Access Token (Settings → Developer settings → Personal access tokens) or set up SSH keys.
Terminal shows errors after npm run dev
Read the error message carefully. Astro error messages are usually specific about what went wrong and where. Most setup errors come from a missing file or wrong file path.