I’ve been building WordPress sites since 2013. Client blogs, WooCommerce stores, coupon sites, affiliate sites. I’ve done all of it. I know the WordPress dashboard the way I know my own kitchen.
One of those sites, a price comparison site, got too heavy to keep fast no matter what I threw at it. That’s what pushed me to research Astro in the first place. Researching a framework and actually building with it are two different things, though. I kept putting off the “actually build something” part.
Then I finally sat down to do it. I thought: how hard can it be? I already know what Astro is supposed to do. I’ll follow a tutorial, spend an afternoon, have something running by dinner.
Two days later, I understood how Astro actually works: local dev, pages, layouts, the mental model shift away from WordPress. Not a finished site. Just enough to stop feeling lost. The full site you’ll see through this series (the blog, reviews, comparisons, and guides) came together over the weeks that followed, as I worked through the rest of this series.
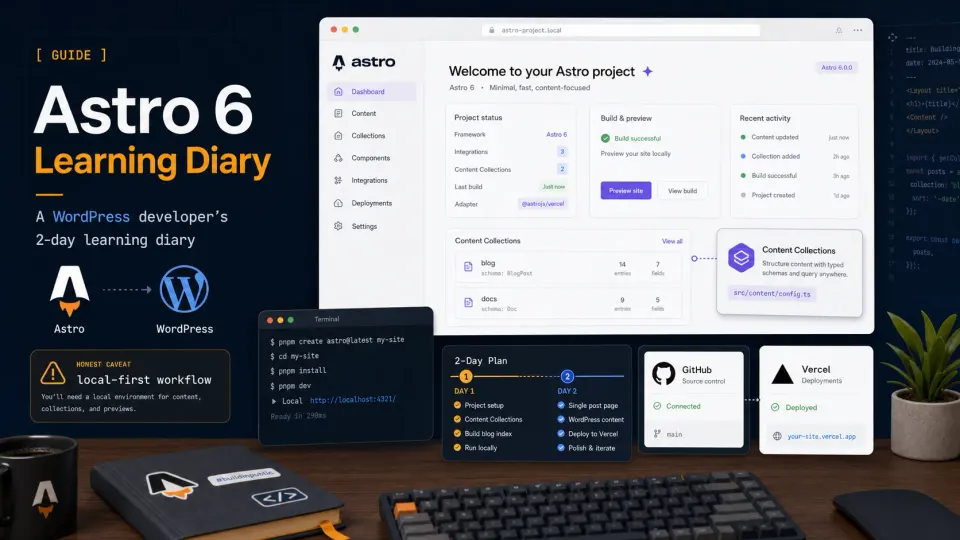
This is the diary of those first two days.
Day 1: The Setup Problem Nobody Warns You About
The first thing that tripped me up wasn’t code. It was workflow.
With WordPress, I work directly on a server. Open cPanel or an SFTP client, edit the file, save it, reload the browser. Done. The “dev environment” is the live server.
Astro doesn’t work like that. You run everything locally first, on your own machine, then push to GitHub, then deploy. That sequence felt backwards to me at first.
Even before I touched any code, I had to make peace with the idea that my laptop is now a development server.
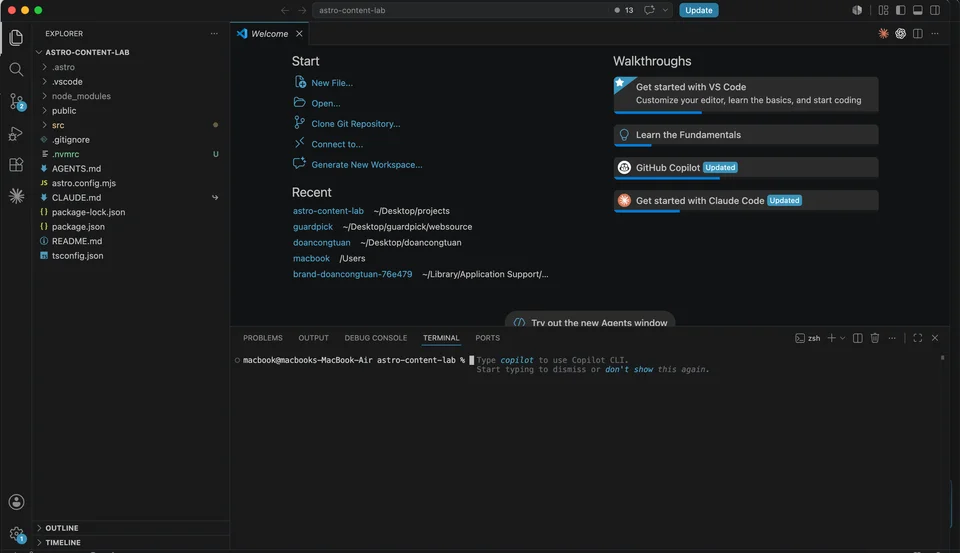
If you’re setting up Astro today, check the official Astro installation guide first. Astro currently requires Node.js 22.12.0 or higher, and the docs recommend VS Code with the official Astro extension.
If Node.js is missing on your machine, use the official Node.js website instead of random installer links.
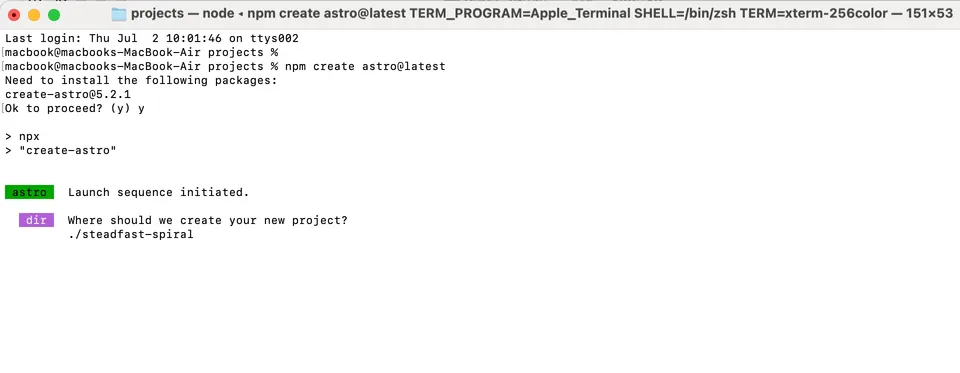
The first actual mistake: the folder name.
The better command is to pass the project name directly:
npm create astro@latest astro-content-labBut the first time I tried Astro, I didn’t know that shortcut. I only ran:
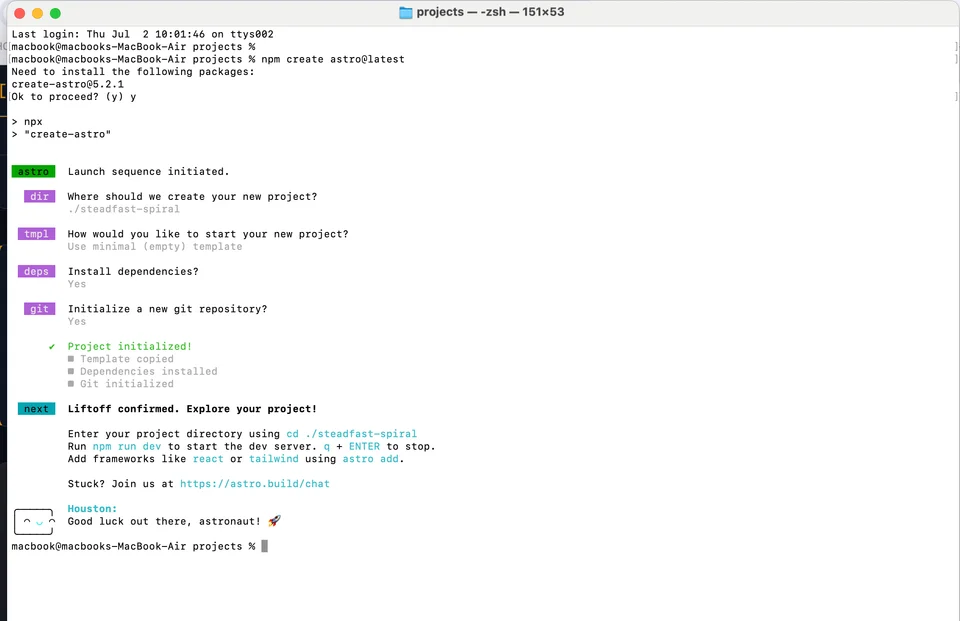
npm create astro@latestAstro asked where to create the project and showed a default name like ./steadfast-spiral. I hit Enter without reading it carefully.
Result: a folder named steadfast-spiral on my desktop instead of astro-content-lab.
Fix was simple:
mv steadfast-spiral astro-content-lab
cd astro-content-lab
Lesson learned: either pass the project name in the first command, or read what Astro is asking before pressing Enter.
The Dev Server Confusion
After installation, I ran npm run dev and saw this in the terminal:
astro  v6.4.7 ready in 499 ms
┃ Local    http://localhost:4321/
┃ Network  use --host to expose
watching for file changes...
Then nothing happened. The terminal just sat there. I waited. Still nothing.
I assumed something was broken. I stared at it for a few minutes wondering if I should restart.
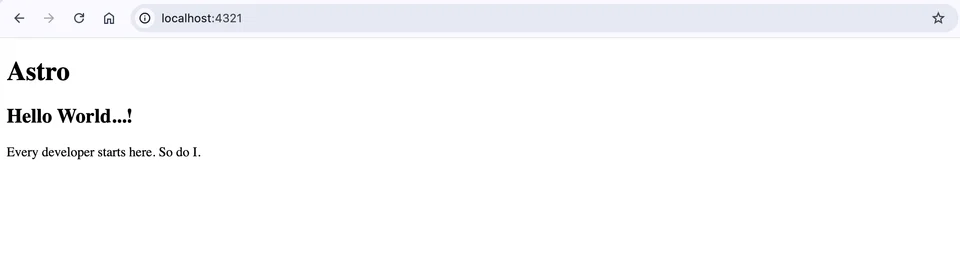
Then I realized: this isn’t a loading screen. It’s a running server. I was supposed to open my browser and go to http://localhost:4321/.
This is obvious if you’ve done local dev before. It wasn’t obvious to me.
In WordPress, Apache or Nginx is already running somewhere on your hosting account. You don’t think about the server because it is hidden behind cPanel, a dashboard, or a hosting panel.
In Astro, the terminal window is the server during development. Close it, and localhost:4321 dies immediately.
It felt strange at first: the website was alive only because one terminal window was still open.
Important note: keep that terminal window open the whole time you’re working.
Choosing an Editor, and Finding the Terminal Inside It
I’ve been using Textmate for years. Quick file edits, nothing fancy. Works fine for WordPress template files.
For Astro, I moved to VS Code because the project is folder-based, component-based, and much easier to manage with a real project sidebar. If you’re new to this workflow, the step-by-step version is in my first Astro project setup guide.
The command to open a folder in VS Code from your terminal is:
code .Simple. Except it didn’t work for me at first. The terminal said zsh: command not found: code.
The fix was the one-time VS Code shell command setup. I also recommend installing the official Astro VS Code extension for syntax highlighting and editor support.
But the bigger discovery was the terminal inside VS Code.
I already use terminal on my VPS: SSH in, run commands, manage servers. That’s my comfort zone. When I found the integrated terminal in VS Code (Ctrl + `), I realized: this is the same thing. Same commands. Same workflow. I can run npm run dev in one terminal tab, open another tab for Git commands, and stay inside VS Code the whole time.
Day 2: Pages, Layouts, and the <slot /> Mystery
Pages in Astro clicked fast. Create a file in src/pages/, get a URL. No routing config. No WordPress permalink settings. Just a file.
src/pages/index.astro   →   /
src/pages/about.astro   →   /about
src/pages/blog.astro    →   /blog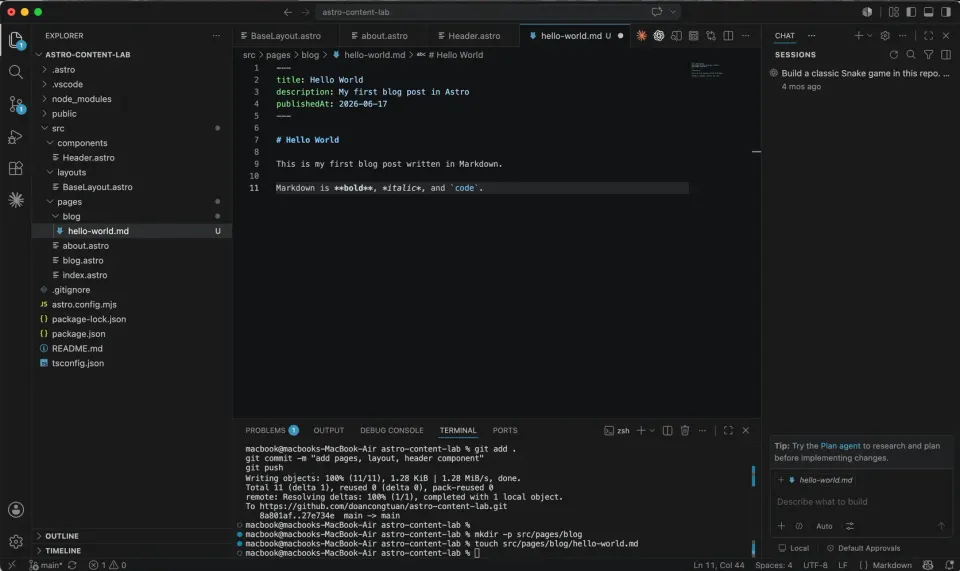
Layouts took longer to understand. The concept is simple, a shared HTML wrapper so you don’t repeat <html><head><body> in every page. But the <slot /> tag confused me.
What does <slot /> do exactly?
Short answer: it’s a placeholder. Whatever you put inside <BaseLayout> in your page file goes where <slot /> is in the layout.
// BaseLayout.astro
<body>
  <Header />
  <slot />   ← your page content goes here
</body>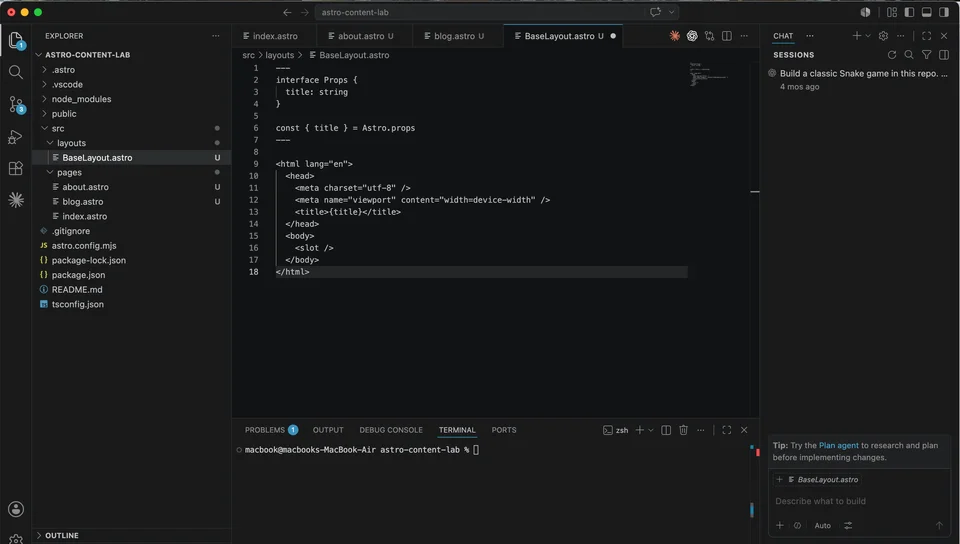
// about.astro
<BaseLayout title="About">
<h1>About</h1> ← this goes into the slot
<p>This is me.</p> ← this too
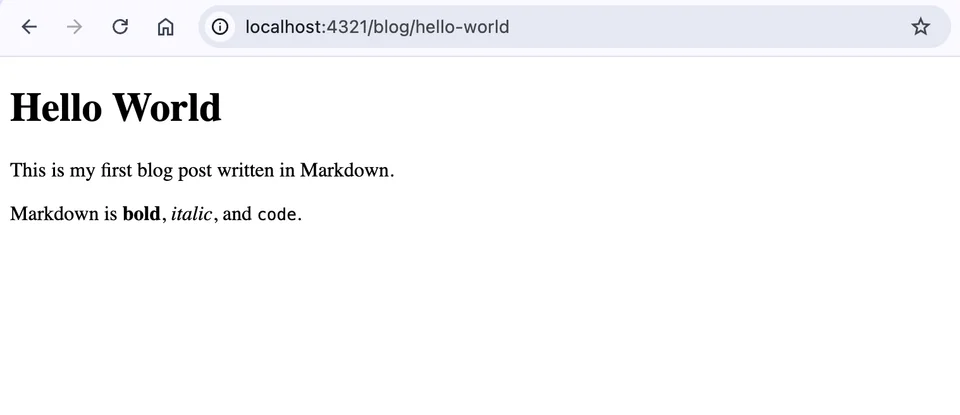
</BaseLayout>The moment I understood that, everything else made sense. Think of <slot /> like a socket: the layout is the wall, and each page plugs into it.
The mistake that cost me 20 minutes: I edited BaseLayout.astro, saved the file, reloaded the browser, and saw a blank white page. Panicked.
The fix: I hadn’t actually saved the file. VS Code had an unsaved dot indicator in the tab. One Cmd + S later, everything was back.
Check your file is saved before you assume something is broken.
That covers the two days I set out to document: the point where Astro stopped feeling like a foreign language. Everything from here happened over the following weeks, as I kept building astro-content-lab into an actual content site. I’m including it because the mistakes are just as real, even if the timeline is longer than “2 days.”
Content Collections: Where Astro 6 Diverges From Older Tutorials
This is the section that will save you the most time.
Content Collections are Astro’s way of managing structured content (blog posts, reviews, guides) with schema validation. Think WordPress Custom Post Types, but in files instead of a database.
When I set them up, I ran into a wall of errors. Not because Content Collections are hard. Because Astro 6 removed the automatic legacy Content Collections behavior that many older tutorials still rely on.
The official Content Collections guide is the source I trust now. For old projects or old tutorials, the Astro v6 upgrade guide explains the compatibility changes.
Here’s the Astro 6 reality:
1. The config file moved.
Old location: src/content/config.ts
New location: src/content.config.ts (outside the content folder, at src/ level)
If you put it in the wrong place, Astro shows this error:
LegacyContentConfigError: Found legacy content config file in "src/content/config.ts".
Please move this file to "src/content.config.ts"
Astro’s own error reference says the same thing: move the legacy config file to src/content.config.ts and ensure each collection has a loader defined.
2. Collections need a loader now.
Old tutorial pattern:
const posts = defineCollection({
  schema: z.object({ ... })
})
Modern Astro 6 pattern:
import { glob } from 'astro/loaders'

const posts = defineCollection({
  loader: glob({ pattern: '**/*.md', base: './src/content/posts' }),
  schema: z.object({ ... })
})
3. post.render() is legacy behavior.
Old tutorial pattern:
const { Content } = await post.render()Modern pattern:
import { render } from 'astro:content'

const { Content } = await render(post)
4. post.slug is legacy behavior.
Old tutorial pattern:
params: { slug: post.slug }Modern pattern:
params: { slug: post.id }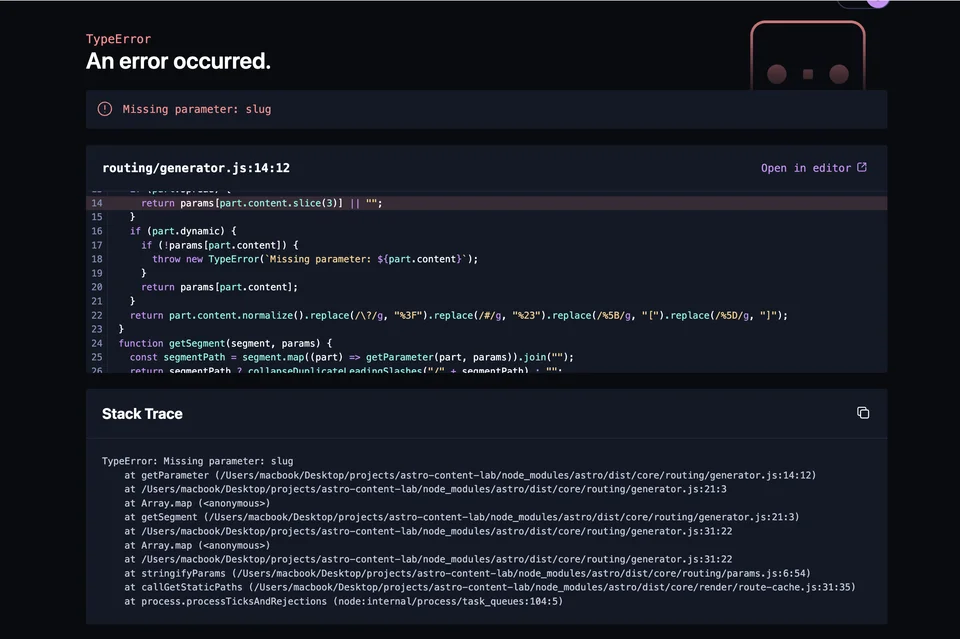
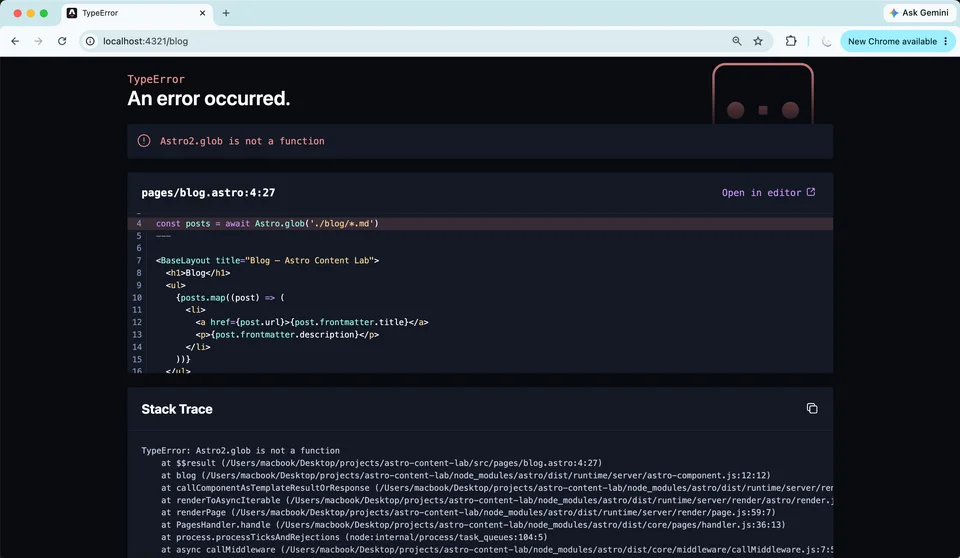
5. Astro.glob() is removed.
If you’re fetching files without Content Collections, use import.meta.glob() instead. Astro’s Astro.glob reference page also notes that Astro.glob() was removed in Astro v6.
6. When you add a new collection, restart the dev server before debugging for 40 minutes.
This one got me twice. Add a new collection → the terminal says "collection does not exist or is empty" even though you did everything right.
My best explanation: when you change collection definitions, Astro’s dev server may still be working from generated metadata in the .astro cache folder. Restarting the dev server or removing .astro forces Astro to rebuild that internal content state.
Fix:
# Option 1
rm -rf .astro
npm run dev

# Option 2
Open content.config.ts, add a space anywhere, save. This forces Astro to reload
I don’t treat this as a permanent Astro bug. I treat it as a normal “restart the dev server before debugging for 40 minutes” lesson.
The First Push to GitHub
A few weeks later, once Content Collections finally clicked, I had a working content site:
- Home, About, Blog pages
- Content Collections for posts, reviews, comparisons, guides
- Dynamic routes: each content file gets its own URL automatically
- A Header component shared across all pages
- Deployed on Vercel
The first git push felt underwhelming. The terminal printed some lines, said “done”, and that was it.
git add .
git commit -m "first commit"
git push -u origin main
Then I went to astro-content-lab.vercel.app and the site was live.
I’ve built hundreds of WordPress sites. I’ve transferred files via FTP, configured cPanel, wrestled with SSL certificates. But there’s something different about pushing code to GitHub and watching Vercel build and deploy it automatically in 30 seconds. No control panel. No FTP. No manually clicking “install SSL”.
If you are new to this workflow, GitHub stores the code, and Vercel deploys the site. Pushing to GitHub by itself is not the same as publishing a website.
I’m not going to say it changed my life. But I did sit there for a minute just refreshing the live URL.
I spent 10 years editing WordPress theme files in cPanel. Then I pushed to GitHub and Vercel did the rest in 30 seconds. Totally normal.
What I Actually Learned
Coming from WordPress, the biggest adjustment wasn’t the syntax. It was the mental model.
In WordPress: the server is always running. The database stores your content. You edit in a browser. Everything happens online.
In Astro: your laptop is the server during development. Content lives in files. You edit in VS Code. The “online” version only exists after you build and deploy.
That shift feels wrong at first. Then it feels right. Then you wonder why WordPress needs a database for a blog that hasn’t changed in three months.
The things WordPress does automatically (admin panel, login, database, URL routing) Astro makes you understand. That’s not a weakness. It’s the whole point.
If you want the cleaner setup version of this story, read the step-by-step Astro setup guide. This diary is the messy version. The guide is the organized version.
The Source Code
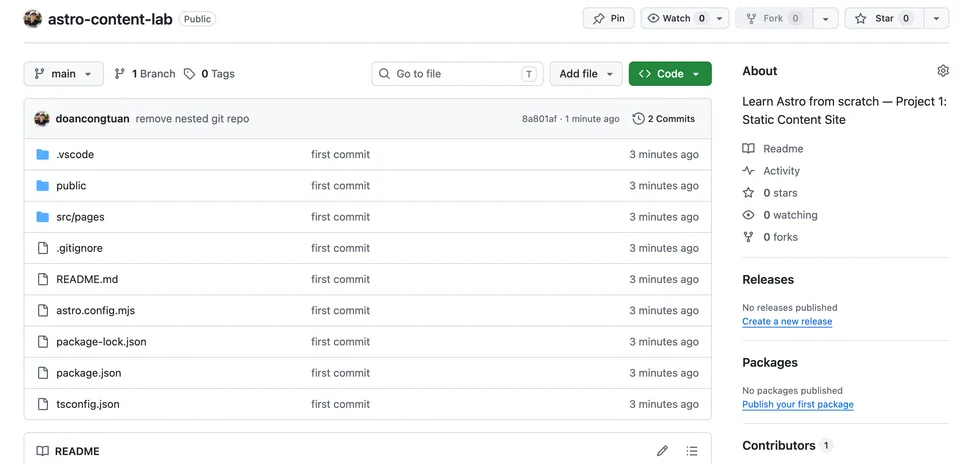
Everything built in this article is in the GitHub repo. Each commit maps to a specific feature.
GitHub: github.com/doancongtuan/astro-content-lab
Live demo: astro-content-lab.vercel.app
This repo will continue to evolve as the series progresses: CSS, Tailwind, real images, SEO, TinaCMS, and eventually a mini CMS backend. If you clone it now, you’re cloning the starting point. Check back for each article to see it grow.
If you want to see what everything in this diary eventually produced, start here:
- Clone the GitHub repo
- Open the live demo
- Compare the early commits with the later ones
That is the real value of this series: the trail of mistakes behind the finished code.