This is the step that catches the most beginners. Not because it’s technically difficult — it isn’t — but because the order of operations matters, and if you get it wrong, you lose SSH access to your server.
The sequence is: open the firewall rule first, then change the SSH config, then restart SSH. Never the other way around.
Before You Start
Make sure you have:
- A non-root user with sudo access (from Part 2.7)
- Your SSH key working for that user
- The Vultr web console URL bookmarked as a backup — you’ll thank yourself if something goes wrong
Step 1 — Choose Your New Port
Pick a port number between 1024 and 65535 that isn’t used by another service. Common choices: 2222, 2200, 2020. Avoid well-known service ports.
For this guide, examples use 2222 — substitute your actual choice throughout.
Step 2 — Open the New Port in firewalld FIRST
This is the step that prevents lockouts. Do this before touching sshd_config.
# Add the new SSH port to firewalld permanently
sudo firewall-cmd --permanent --add-port=2222/tcp

# Reload firewalld to apply
sudo firewall-cmd --reload

# Verify the port is open
sudo firewall-cmd --list-ports
Expected output from the last command should include 2222/tcp.
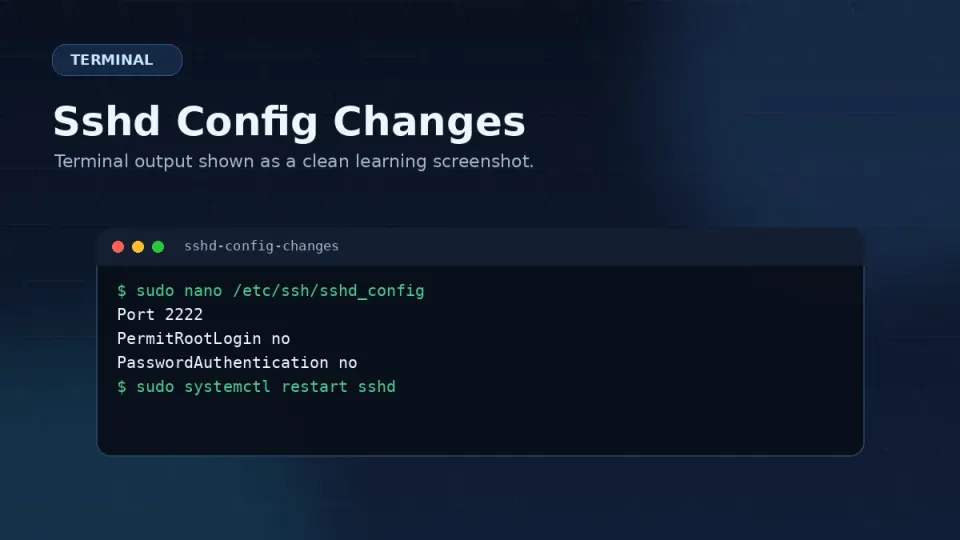
Step 3 — Edit sshd_config
sudo nano /etc/ssh/sshd_configFind the Port line. It may be commented out with #:
#Port 22Uncomment it and change the value:
Port 2222While you have the file open, find PermitRootLogin and set it to no:
PermitRootLogin noIf the line doesn’t exist, add it. If it’s commented out, uncomment it and change the value.
Save and exit: Ctrl+O, Enter, Ctrl+X.
Step 4 — Check the Config for Errors
Before restarting SSH, verify the config file has no syntax errors:
sudo sshd -tNo output means no errors. If you see an error message, go back and fix it before continuing.
Step 5 — Restart SSH
sudo systemctl restart sshdSSH is now listening on port 2222 only. Port 22 is closed.
Step 6 — Test From a New Terminal Window
Do not close your current session yet.
Open a completely new terminal window and test the connection with the new port:
ssh -p 2222 youruser@your-server-ipOr in Termius: edit the saved connection and update the port number from 22 to 2222.
If this works — you’re connected on the new port, everything is correct. You can close the old session.
If this fails — you still have your original session open. Debug from there before anything else.
Step 7 — Remove Port 22 from firewalld
Now that you’ve confirmed the new port works, close port 22:
sudo firewall-cmd --permanent --remove-service=ssh
sudo firewall-cmd --reload
Verify port 22 is no longer open:
sudo firewall-cmd --list-allThe services: line should no longer include ssh, and ports: should show 2222/tcp.
Update Your SSH Client
Termius: Edit the saved host connection → change Port from 22 to 2222.
Mac Terminal: Update any saved SSH commands or aliases to include -p 2222.
~/.ssh/config (optional but useful — saves typing -p 2222 every time):
nano ~/.ssh/configAdd or update:
Host your-server-nickname
  HostName your-server-ip
  User youruser
  Port 2222
  IdentityFile ~/.ssh/id_ed25519
Now ssh your-server-nickname connects with the right port automatically.
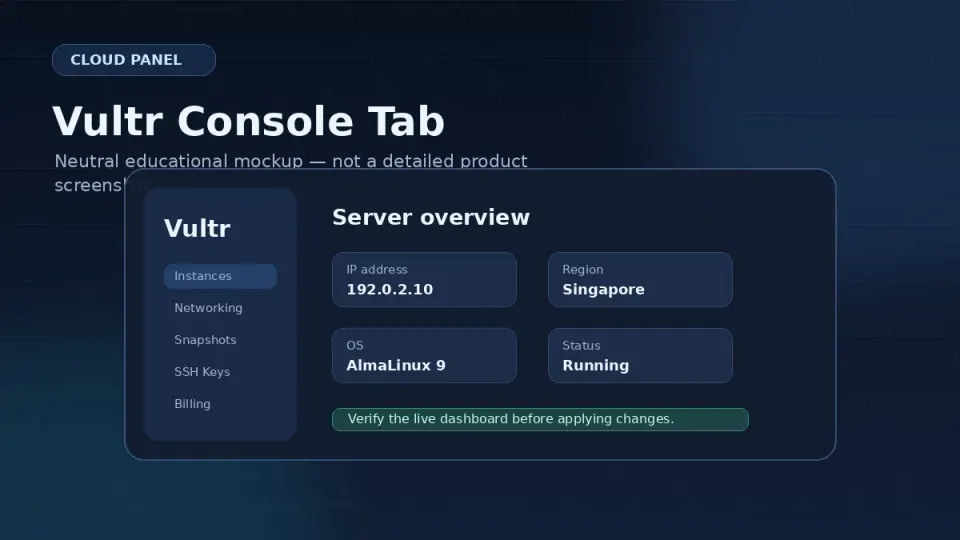
If You Get Locked Out
It happens. The fix is straightforward if you know where to go.
Vultr web console: Log in to your Vultr dashboard → click your server → click the Console tab. This opens a browser-based terminal session that bypasses SSH entirely. You can type commands directly.
From the console, fix whichever step went wrong:
If you forgot to open the port in firewalld:
sudo firewall-cmd --permanent --add-port=2222/tcp
sudo firewall-cmd --reload
If sshd_config has an error:
sudo nano /etc/ssh/sshd_config
# Fix the error
sudo systemctl restart sshd
If you want to temporarily revert to port 22 while you debug:
sudo nano /etc/ssh/sshd_config
# Change Port back to 22
sudo systemctl restart sshd
sudo firewall-cmd --permanent --add-service=ssh
sudo firewall-cmd --reload
Verify Everything Is Working
Final check after you’ve confirmed the new port works and old session is closed:
# Confirm SSH is listening on the right port
sudo ss -tlnp | grep sshd

# Check auth log — should show your successful login on new port
sudo tail -20 /var/log/secure | grep sshd
The ss output should show port 2222, not 22.