This is the step that makes everything before it click into place.
You changed the SSH port — the bots targeting port 22 disappear. You set up Fail2ban — repeated attempts from the same IP get blocked. But as long as password authentication is enabled, there is still something worth attacking. Disable it, and the entire category of brute-force attack becomes irrelevant.
Why This Is the Last Security Step
The order matters. Disabling passwords before having SSH keys configured locks you out permanently — no password fallback means no access. That’s why this comes last in Part 3, after:
- SSH key created and copied to the server (Part 2.5)
- Keys confirmed working on your machines (Part 2.6)
- Multiple machines set up with their own keys (good practice)
If any of that isn’t done, complete it before this article.
Before You Start — Confirm Your Key Works
Open a new terminal window and test SSH key authentication:
ssh -p 2222 youruser@your-server-ipYou should connect without being asked for a password. If you see a password prompt, your key is not set up correctly — stop here and fix that first.
Step 1 — Edit sshd_config
Keep your existing SSH session open. In that same session:
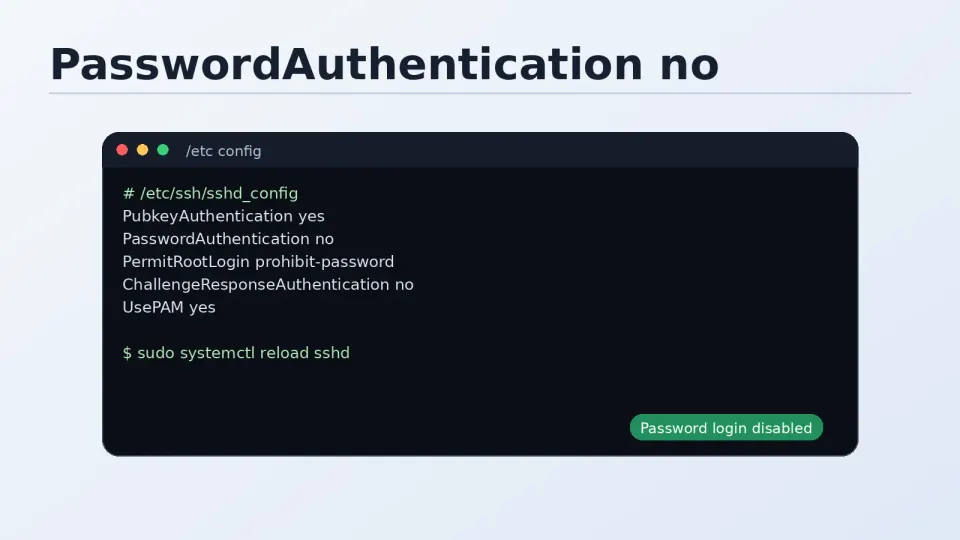
sudo nano /etc/ssh/sshd_configFind PasswordAuthentication. It may be commented out:
#PasswordAuthentication yesUncomment it and set to no:
PasswordAuthentication noWhile you’re in the file, also verify these are set correctly:
PubkeyAuthentication yes
AuthorizedKeysFile .ssh/authorized_keys
These should already be the defaults — confirm they’re not commented out or set to no.
Save and exit: Ctrl+O, Enter, Ctrl+X.
Step 2 — Test Config and Restart
Check for syntax errors before restarting:
sudo sshd -tNo output means no errors. Then restart:
sudo systemctl restart sshdStep 3 — Test Immediately
From the new terminal window you opened earlier, try connecting again:
ssh -p 2222 youruser@your-server-ipStill connects without a password prompt — good. Password authentication is disabled and key auth is working.
Now test that passwords are actually rejected. Try connecting with the -o PasswordAuthentication=yes flag to force a password attempt:
ssh -p 2222 -o PasswordAuthentication=yes -o PubkeyAuthentication=no youruser@your-server-ipYou should see:
youruser@your-server-ip: Permission denied (publickey).Permission denied (publickey) confirms passwords are disabled — the server is only accepting key authentication.
What the Auth Log Looks Like After This
Before disabling passwords:
Failed password for root from 185.220.101.45 port 54321 ssh2
Failed password for admin from 193.32.127.11 port 23456 ssh2
Failed password for ubuntu from 45.142.212.10 port 34567 ssh2
After disabling passwords (with Fail2ban running):
Disconnected from invalid user root 185.220.101.45 port 54321 [preauth]The bots still scan. They find the port (if they port-scan your server). They attempt to connect. But password authentication is gone — they get disconnected at the preauth stage, before any credentials are even checked. Fail2ban sees the repeated attempts and bans the IP. The auth log becomes much quieter.
If You Get Locked Out
This happened to me once or twice — usually because a key wasn’t properly copied to a new machine before connecting from it.
Use the Vultr web console:
Log into your Vultr dashboard → click your server → click the Console tab.
From the browser console, temporarily re-enable password auth:
sudo nano /etc/ssh/sshd_config
# Change: PasswordAuthentication no
# To:     PasswordAuthentication yes
sudo systemctl restart sshd
Then set a temporary password for your user:
sudo passwd youruserNow SSH in normally with the password, add your key properly to ~/.ssh/authorized_keys, confirm it works, then go back and disable passwords again.
Part 3 Complete — Security Checklist
You’ve completed all four steps in Part 3. Run through this checklist:
# 1. Confirm SSH is on custom port (not 22)
sudo ss -tlnp | grep sshd

# 2. Confirm firewalld has correct ports open
sudo firewall-cmd --list-all

# 3. Confirm Fail2ban is running and watching SSH
sudo fail2ban-client status sshd

# 4. Confirm password authentication is disabled
sudo grep "PasswordAuthentication" /etc/ssh/sshd_config

# 5. Confirm you can still SSH in with your key
# (test from local machine)
All five checks pass — your server is locked down. Every brute-force attack against SSH from this point forward hits a closed port or a key-only barrier. The background noise in your auth log becomes irrelevant.
Part 4 starts the actual stack installation: Nginx, PHP-FPM, MariaDB. The server is now ready for it.