
A firewall is a list of who gets in. The default policy on Rocky Linux is to deny everything that isn’t explicitly allowed. That’s the right starting point — the problem is knowing exactly what to allow.
For a WordPress VPS, the answer is simpler than most tutorials make it seem: three ports. Everything else stays closed.
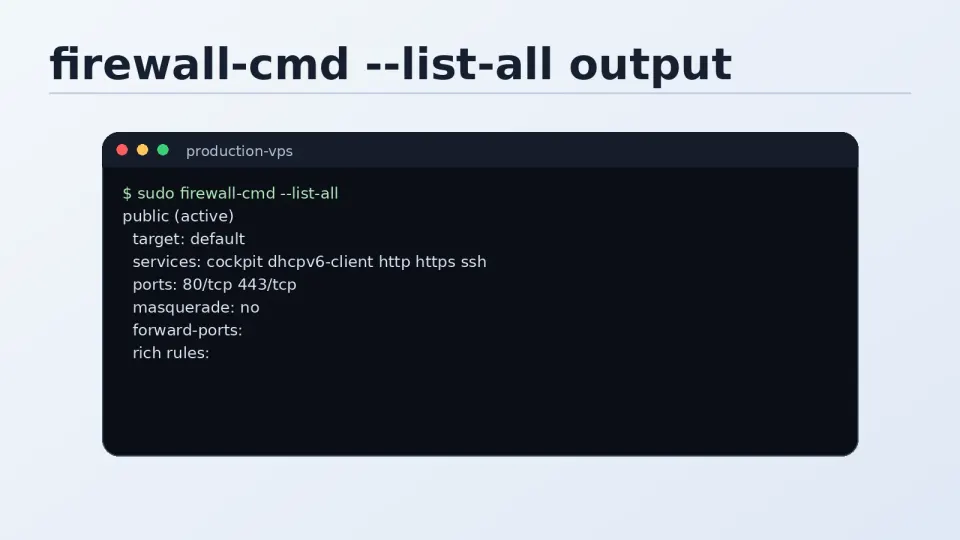
Check the Current State First
Before making any changes, see what’s currently open:
sudo firewall-cmd --list-allOutput will look something like:
public (active)
  target: default
  icmp-block-inversion: no
  interfaces: eth0
  sources:
  services: cockpit dhcpv6-client ssh
  ports:
  protocols:
  masquerade: no
  forward-ports:
  source-ports:
  icmp-blocks:
  rich rules:
The services line shows named services with open ports. ssh here means port 22 is open. Since you changed the SSH port in the previous article, ssh service should have been removed and your custom port added to ports. If port 22 is still listed, close it now:
sudo firewall-cmd --permanent --remove-service=ssh
sudo firewall-cmd --reload
The Three Ports to Open
Your Custom SSH Port
Already done in the previous article. Verify it’s in the list:
sudo firewall-cmd --list-ports
# Should show: 2222/tcp (or your chosen port)
If it’s missing for any reason:
sudo firewall-cmd --permanent --add-port=2222/tcp
sudo firewall-cmd --reload
HTTP — Port 80
Required for web traffic and for Let’s Encrypt SSL certificate generation:
sudo firewall-cmd --permanent --add-service=http
sudo firewall-cmd --reload
HTTPS — Port 443
Required for encrypted web traffic:
sudo firewall-cmd --permanent --add-service=https
sudo firewall-cmd --reload
Verify all three are open:
sudo firewall-cmd --list-allThe output should show http and https in services, and your SSH port in ports.
What to Keep Closed
MySQL — Port 3306
On a single-server WordPress setup, MySQL only needs to accept connections from localhost. WordPress and MySQL are on the same machine — they communicate internally without going through the network stack.
Opening port 3306 publicly exposes your database to brute force attacks from the internet. Keep it closed. If you ever need to connect to MySQL from a remote machine, use an SSH tunnel:
# From your local machine — tunnel MySQL port through SSH
ssh -L 3306:localhost:3306 -p 2222 youruser@your-server-ip
This forwards your local port 3306 to the server’s localhost:3306 through the encrypted SSH connection. No public MySQL port needed.
Redis — Port 6379
Redis has no authentication enabled by default and is designed for trusted internal networks. It should be bound to 127.0.0.1 and never exposed publicly.
Verify Redis is only listening on localhost:
sudo ss -tlnp | grep redis
# Should show: 127.0.0.1:6379, not 0.0.0.0:6379
If it shows 0.0.0.0:6379, Redis is listening on all interfaces. Fix this in /etc/redis/redis.conf:
sudo nano /etc/redis/redis.conf
# Find: bind 127.0.0.1 -::1
# Make sure it's not commented out
Everything Else
The default deny policy handles this. Ports you haven’t explicitly opened are blocked. You don’t need to actively close them.
Debugging: When Firewalld Is Blocking Something
This happens regularly. A service stops working, you check the service status and it’s running fine, Nginx is up, PHP-FPM is up — and then you remember to check the firewall.
Quick check — what’s currently open:
sudo firewall-cmd --list-allWatch blocked connections in real time:
sudo journalctl -f | grep -i "REJECT\|DROP"Open this in one terminal, then try to access whatever is failing from another window. If you see rejection entries appearing when you try to connect, firewalld is the problem.
Check if a specific port is reachable from outside:
# From your local machine, not the server
nc -zv your-server-ip 443
Connection succeeded means the port is open. Connection refused or timeout means firewalld is blocking it.
Common scenario — you installed a new service and it’s not accessible:
# Check what port the service is using
sudo ss -tlnp | grep service-name

# Open that port
sudo firewall-cmd --permanent --add-port=PORT/tcp
sudo firewall-cmd --reload
Reference — firewalld Commands You’ll Actually Use
# Show everything currently open
sudo firewall-cmd --list-all

# Open a port permanently
sudo firewall-cmd --permanent --add-port=PORT/tcp
sudo firewall-cmd --reload

# Open a named service
sudo firewall-cmd --permanent --add-service=http
sudo firewall-cmd --reload

# Close a port permanently
sudo firewall-cmd --permanent --remove-port=PORT/tcp
sudo firewall-cmd --reload

# Close a named service
sudo firewall-cmd --permanent --remove-service=ssh
sudo firewall-cmd --reload

# Check if firewalld is running
sudo systemctl status firewalld

# Restart firewalld
sudo systemctl restart firewalld

# Test a rule without making it permanent (resets on reload)
sudo firewall-cmd --add-port=PORT/tcp
The distinction between with and without --permanent:
- Without
--permanent: rule applies immediately but disappears on next reload or reboot - With
--permanent+--reload: rule persists across reboots
When debugging, you can add a rule without --permanent to test it, then add it permanently once you’ve confirmed it works.
Final Verification
After completing this article, run a full check:
sudo firewall-cmd --list-allYou should see:
services: http https(or similar)ports: 2222/tcp(your SSH port)- No
sshservice (port 22 removed) - No
3306/tcp, no6379/tcp
That’s the correct baseline for a WordPress VPS. Every port you add from here should be for a specific, understood reason.