
Step 1 — Run the Browser Installer
Navigate to your domain in a browser:
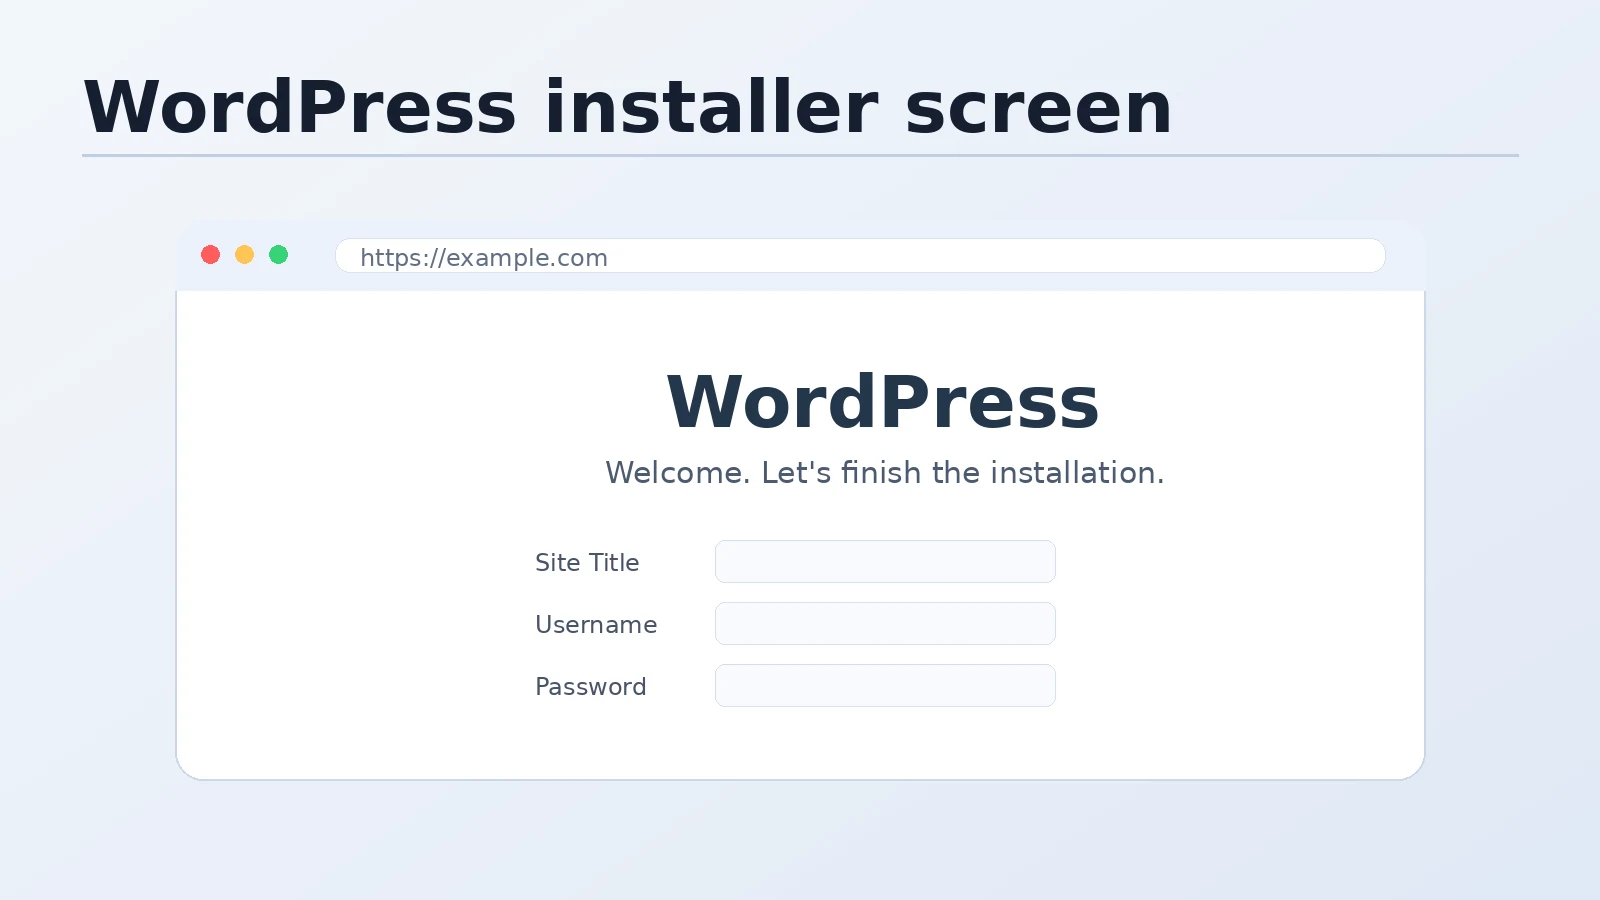
https://yourdomain.comIf everything is configured correctly — DNS pointing to the server, Nginx serving your web root, wp-config.php with valid database credentials — you’ll see the WordPress installation screen.
If you see a database error instead: The credentials in wp-config.php don’t match the database you created. Double-check DB_NAME, DB_USER, and DB_PASSWORD.
If you see a blank page: PHP-FPM might not be running. Check: sudo systemctl status php-fpm
If you see the Nginx welcome page: WordPress files aren’t in the right location, or your Nginx server block’s root directive is pointing to the wrong directory.
Step 2 — Fill In the Installation Form
The installer asks for:
Site Title — your site name. Can be changed later.
Username — the admin username. Every WordPress brute-force bot tries admin first. Use anything else — your name, a random string, anything that isn’t admin. Even if you use SSH key authentication and Fail2ban, there’s no reason to make the WordPress login easier to guess.
Password — WordPress generates a strong one. Use it, or generate your own. Save it somewhere.
Email — used for admin notifications and password resets.
Search Engine Visibility — leave unchecked for a live site. Check it temporarily if you’re still building and don’t want Google indexing a half-finished site.
Click Install WordPress.
Step 3 — First Steps in wp-admin
Log in with the credentials you just set. You’re now in wp-admin.
1. Set Permalinks
Settings → Permalinks → Select Post name → Save Changes.
WordPress uses query string URLs (/?p=123) by default. Post name (/your-post-title/) is the standard for SEO and readability. Do this before creating any content — changing it later redirects existing URLs.
2. Delete Default Content
Posts → find “Hello World” → Trash it. Pages → find “Sample Page” → Trash it. Comments → empty the spam folder.
3. Remove Unused Themes and Plugins
Appearance → Themes → delete Twenty Twenty-Two, Twenty Twenty-Three (keep one default theme as fallback). Plugins → deactivate and delete Akismet and Hello Dolly unless you need them.
4. Install Your Theme
Install your theme, activate it, and import demo content if applicable. Set up menus according to your content map.
Step 4 — Install Essential Plugins
The plugins worth installing on every WordPress VPS site:
Rank Math — SEO. The free tier covers everything most sites need. Pro adds advanced schema, keyword tracking, and content AI features.
WP Rocket — Performance. With FastCGI cache running at the Nginx level, disable WP Rocket’s page caching feature (Settings → Cache → Disable). Keep everything else: CSS/JS minification, lazy loading, database optimization, browser caching.
Redis Object Cache — Connects WordPress to the Redis instance you installed. Activate the plugin, verify status shows “Connected” in the plugin dashboard.
Step 5 — Restrict wp-admin Access by IP
This is one of the highest-value security measures for WordPress — blocking access to /wp-admin from any IP except yours.
Open your Nginx server block:
sudo nano /etc/nginx/conf.d/yourdomain.confAdd this block inside the main server {} block:
location /wp-admin {
    # Allow your IPs — add all machines you work from
    allow YOUR.HOME.IP.ADDRESS;
    allow YOUR.OFFICE.IP.ADDRESS;
    allow YOUR.VPN.IP.ADDRESS;

    # Block everyone else
    deny all;

    # Still process PHP for allowed IPs
    try_files $uri $uri/ /index.php?$args;
    location ~ \.php$ {
        fastcgi_pass unix:/run/php-fpm/www.sock;
        fastcgi_index index.php;
        include fastcgi_params;
        fastcgi_param SCRIPT_FILENAME $document_root$fastcgi_script_name;
    }
}

# Also restrict wp-login.php
location = /wp-login.php {
    allow YOUR.HOME.IP.ADDRESS;
    allow YOUR.OFFICE.IP.ADDRESS;
    deny all;

    fastcgi_pass unix:/run/php-fpm/www.sock;
    fastcgi_index index.php;
    include fastcgi_params;
    fastcgi_param SCRIPT_FILENAME $document_root$fastcgi_script_name;
}
Find your current IP:
# From your local machine
curl ifconfig.me
Add that IP to the allow lines. If you work from multiple locations (home, office, different machines), add each IP on a separate allow line.
Test and reload:
sudo nginx -t && sudo systemctl reload nginxVerify it works by visiting https://yourdomain.com/wp-admin from your allowed IP — you should reach the login page. From any other IP, it returns 403 Forbidden.
Step 6 — Verify FastCGI Cache Is Working
With WordPress running, test the cache headers:
# First request — should be MISS (page being cached)
curl -I https://yourdomain.com/

# Second request — should be HIT (served from cache)
curl -I https://yourdomain.com/
Look for the X-Cache-Status header:
HIT— page served from Nginx cache, PHP not involvedMISS— fresh PHP response, page now cached for next requestBYPASS— cache intentionally skipped (you’re logged in, or visiting admin)
Part 5 Complete
WordPress is running on your VPS with:
- HTTPS via Let’s Encrypt
- DNS pointing to your server
- FastCGI cache serving pages from Nginx
- wp-admin restricted to your IP
This is the milestone. Everything in Parts 0–4 was preparation. This is the working site.
The feeling the first time: a site you built from a blank terminal, now running on a server you configured from scratch. That black screen with commands you typed produced something real and accessible to anyone in the world.
Eventually this becomes routine. You write scripts. The setup time drops from hours to minutes. But it started here.
Part 6 is performance optimization — making WordPress run as fast as your VPS hardware allows.