The install itself is one command. The part that takes time is understanding what you’re looking at after it’s installed — the directory structure, the config format, how to test changes safely. That’s what this article covers.
Step 1 — Install Nginx
sudo dnf install nginx -yStep 2 — Enable and Start Nginx
sudo systemctl enable --now nginxenable makes Nginx start automatically at boot. --now starts it immediately. One command instead of two.
Verify it’s running:
sudo systemctl status nginxYou should see active (running) in green. If you see failed or inactive, check the error in the status output and look at the error log:
sudo tail -20 /var/log/nginx/error.logStep 3 — Confirm It’s Accessible
If port 80 isn’t open in firewalld yet, open it now:
sudo firewall-cmd --permanent --add-service=http
sudo firewall-cmd --reload
Open a browser and navigate to your server’s IP address:
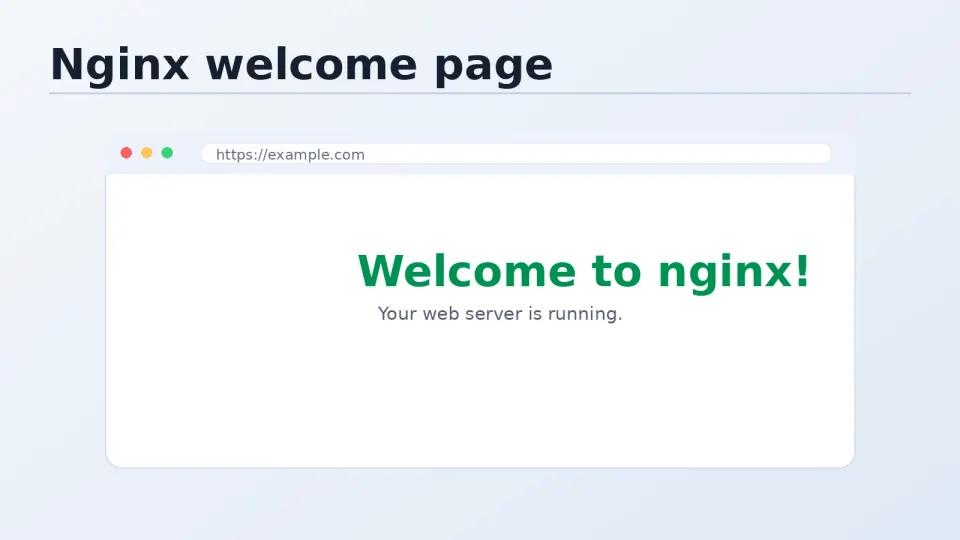
http://your-server-ipYou should see the Nginx welcome page — a simple HTML page saying “Welcome to nginx!”. This confirms Nginx is installed, running, and accessible from the internet.
Understanding the Nginx Directory Structure
On Rocky Linux, Nginx uses a different file layout than Ubuntu. Understanding it prevents a lot of confusion when following tutorials written for other systems.
/etc/nginx/
├── nginx.conf          ← Main config — rarely edited directly
├── conf.d/             ← Site configs go here
│   └── default.conf    ← Default site (can delete or replace)
└── mime.types          ← File type mappings

/var/log/nginx/
├── access.log          ← All requests
└── error.log           ← Errors and warnings

/usr/share/nginx/html/  ← Default web root (the welcome page)
The key difference from Ubuntu:
| Rocky Linux | Ubuntu |
|---|---|
/etc/nginx/conf.d/*.conf | /etc/nginx/sites-available/ |
| Files auto-loaded | Requires symlink to sites-enabled/ |
| No symlink step needed | Extra step per site |
Rocky Linux’s approach is simpler. Any .conf file you create in /etc/nginx/conf.d/ is automatically included when Nginx starts or reloads. No symlinks, no enable/disable commands.
The Most Important Nginx Habit — nginx -t
Before every single Nginx reload, run this:
sudo nginx -tIf the config is valid:
nginx: the configuration file /etc/nginx/nginx.conf syntax is ok
nginx: configuration file /etc/nginx/nginx.conf test is successful
If there’s an error:
nginx: [emerg] unknown directive "servername" in /etc/nginx/conf.d/site.conf:3
nginx: configuration file /etc/nginx/nginx.conf test failed
The error output tells you the file and line number. Fix it, run nginx -t again, repeat until you see “test is successful.”
Only then reload:
sudo systemctl reload nginxWhy this habit matters: Nginx won’t reload a broken config — it keeps the old working config in memory and reports the error. But if you restart instead of reload, and the config has an error, Nginx fails to start entirely and your site goes down. nginx -t + reload is always safer than restart.
The nginx -t Moment
When you’re starting out with Nginx, config errors happen constantly. A missing semicolon. A typo in a directive name. A wrong file path. The error messages are accurate but require context to interpret.
The experience before knowing about nginx -t:
Make a change → reload → site breaks → no idea why → check error log → decipher the message → fix → reload → repeat.
The experience after:
Make a change → nginx -t → error visible immediately → fix → nginx -t → “test is successful” → reload confidently.
The second version is faster and less stressful. Run nginx -t every time. It takes one second and has prevented more headaches than any other single habit in server management.
Useful Nginx Commands Reference
# Test config for errors
sudo nginx -t

# Reload config with zero downtime (use this)
sudo systemctl reload nginx

# Full restart — drops connections briefly
sudo systemctl restart nginx

# Check running status
sudo systemctl status nginx

# Start / stop
sudo systemctl start nginx
sudo systemctl stop nginx

# View error log live
sudo tail -f /var/log/nginx/error.log

# View access log live
sudo tail -f /var/log/nginx/access.log

# Check which config files are loaded
sudo nginx -T | grep "configuration file"
Troubleshooting Common Issues
Port 80 not accessible from browser:
sudo firewall-cmd --list-services
# Should include 'http'
# If not: sudo firewall-cmd --permanent --add-service=http && sudo firewall-cmd --reload
Nginx fails to start:
sudo systemctl status nginx
sudo tail -20 /var/log/nginx/error.log
# Read the error — usually a config syntax issue or port already in use
403 Forbidden on the welcome page:
ls -la /usr/share/nginx/html/
# Check that index.html exists and is readable
# SELinux on Rocky Linux can cause this — check: sudo ausearch -m avc -ts recent
The next article installs MariaDB. Leave Nginx running — it will stay up while you install the database layer.