wp-config.php is the file WordPress reads before doing anything else. It contains the database credentials, security keys, and environment settings that define how your installation behaves. Get this right and the browser installer works first try.
Step 1 — Create wp-config.php from the Sample
WordPress ships with wp-config-sample.php — a template with placeholder values. Copy it:
cd /var/www/yourdomain.com
sudo cp wp-config-sample.php wp-config.php
Now edit it. Use whichever method you prefer:
nano on the server:
sudo nano wp-config.phpSFTP through Terminus: Connect to your server via SFTP, navigate to the web root, and open wp-config.php in your local editor. Either way works — the file is the same.
Step 2 — Database Credentials
Find these four lines and update them with the values from Part 4.3:
define( 'DB_NAME', 'wordpress_site' );      // Your database name
define( 'DB_USER', 'wp_user' );             // Your database username
define( 'DB_PASSWORD', 'your-password' );   // Your database password
define( 'DB_HOST', 'localhost' );           // Keep as localhost
DB_HOST stays as localhost — WordPress and MariaDB are on the same server. No IP address needed.
Step 3 — Authentication Keys and Salts
In the file, you’ll find a section that looks like this:
define( 'AUTH_KEY', 'put your unique phrase here' );
define( 'SECURE_AUTH_KEY', 'put your unique phrase here' );
define( 'LOGGED_IN_KEY', 'put your unique phrase here' );
define( 'NONCE_KEY', 'put your unique phrase here' );
define( 'AUTH_SALT', 'put your unique phrase here' );
define( 'SECURE_AUTH_SALT', 'put your unique phrase here' );
define( 'LOGGED_IN_SALT', 'put your unique phrase here' );
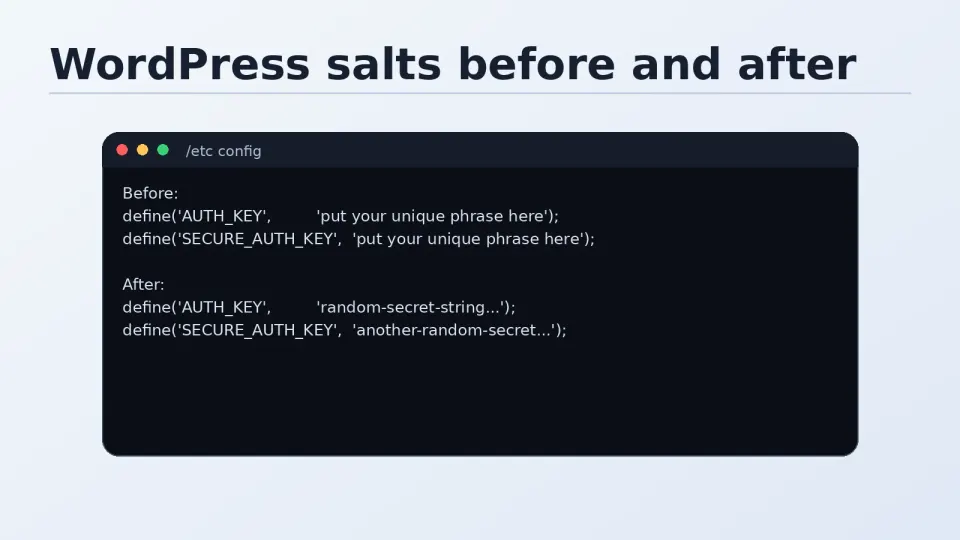
define( 'NONCE_SALT', 'put your unique phrase here' );These are authentication salts. If you’ve never heard of them, here’s what they actually do:
When a user logs in to WordPress, their session is stored in a browser cookie. Salts are long random strings that WordPress uses to encrypt and sign those cookies. Without unique salts, cookies from one WordPress installation could potentially be valid on another using the same default values — a security gap.
In practice: generate fresh salts for every new installation. It takes ten seconds and it’s the right habit.
Go to this URL to generate a fresh set: https://api.wordpress.org/secret-key/1.1/salt/
The page returns eight lines of PHP that look like:
define('AUTH_KEY',        'Xl$k#9mP@2vN...(long random string)');
define('SECURE_AUTH_KEY', 'aB!q7rT^...');
// etc.
Select all eight lines, copy them, and paste them in wp-config.php replacing the entire placeholder block. Save.
Step 4 — WP_DEBUG
Find this line:
define( 'WP_DEBUG', false );Leave it as false for a production site. This is correct.
When to turn it on: When something breaks and you need to find out why. A WordPress update causes a white screen, a plugin throws a fatal error, something stops working unexpectedly — that’s when you temporarily enable debug mode:
define( 'WP_DEBUG', true );
define( 'WP_DEBUG_LOG', true );   // Write errors to /wp-content/debug.log
define( 'WP_DEBUG_DISPLAY', false ); // Don't show errors on screen (VPS)
With WP_DEBUG_LOG enabled, errors write to /wp-content/debug.log instead of appearing on screen — safer for a live site. Check the log file after an update if something looks wrong.
The white screen / fatal error pattern during WordPress core updates is usually a plugin that hasn’t been updated to support the new version. The debug log shows exactly which plugin is throwing the error. Update or temporarily deactivate that plugin, and the site comes back.
Turn WP_DEBUG off again after debugging. Running it permanently on a production site leaks technical information and slows things down slightly.
Step 5 — Table Prefix
$table_prefix = 'wp_';The default wp_ prefix works fine. Changing it to something custom (like site1_ or abc_) is a minor security measure — it makes automated SQL injection attacks slightly harder because they typically target wp_ tables by name.
Whether it’s worth changing depends on the project. For a personal site, wp_ is fine. For client work or anything public-facing with sensitive data, a custom prefix is a reasonable precaution.
Step 6 — Redis Connection Constants (Optional)
If you installed the Redis Object Cache plugin (Part 5.5 covers this), add these lines near the bottom of wp-config.php, before the /* That's all, stop editing! */ comment:
define( 'WP_REDIS_HOST', '127.0.0.1' );
define( 'WP_REDIS_PORT', 6379 );
define( 'WP_REDIS_TIMEOUT', 1 );
define( 'WP_REDIS_READ_TIMEOUT', 1 );
define( 'WP_REDIS_DATABASE', 0 );
This tells WordPress where to find Redis. The plugin reads these constants when it connects. Adding them now means the plugin works immediately after activation without any additional configuration.
Step 7 — Set Strict File Permissions
wp-config.php contains database credentials. Restrict access to it:
sudo chmod 640 /var/www/yourdomain.com/wp-config.php
sudo chown nginx:nginx /var/www/yourdomain.com/wp-config.php
640 means: owner (nginx) can read and write, group (nginx) can read, everyone else has no access. The Nginx user needs to read it; no one else needs to.
Verify the Config
Quick sanity check before proceeding:
# Confirm the file exists and has correct permissions
ls -la /var/www/yourdomain.com/wp-config.php

# Confirm database name is set (should show your DB name)
grep "DB_NAME" /var/www/yourdomain.com/wp-config.php

# Confirm salts are not the placeholder text
grep "put your unique phrase" /var/www/yourdomain.com/wp-config.php
# Should return nothing — if it returns lines, salts weren't replaced
All three checks pass — wp-config.php is ready. The next step is file permissions, then the browser installer.