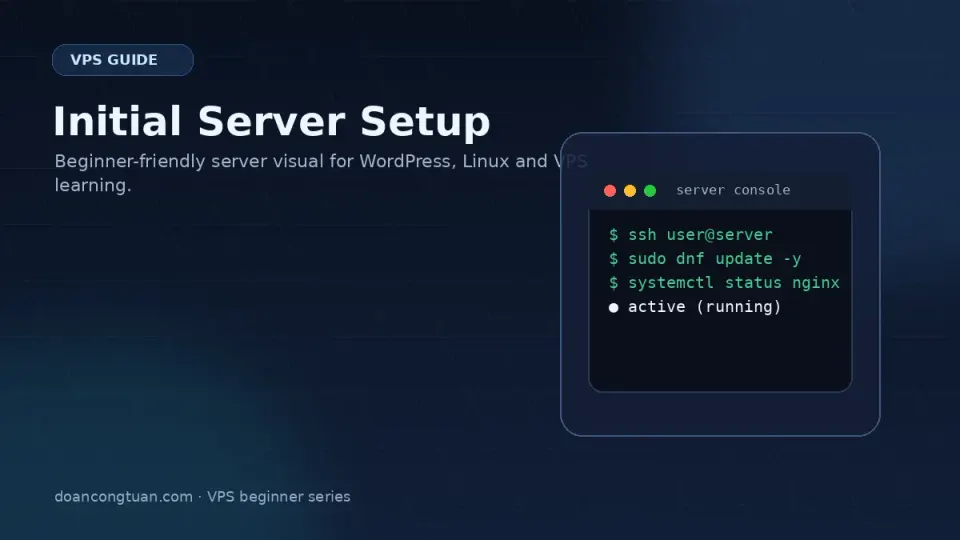
You’re connected. The server is running. The temptation is to start installing things immediately.
Don’t. Four quick steps first — they take 10 minutes and make everything after them cleaner and safer.
Step 1 — Update the System
A fresh VPS ships with the OS as it was when the image was created — which could be weeks or months ago. Packages have been updated since then, including security patches.
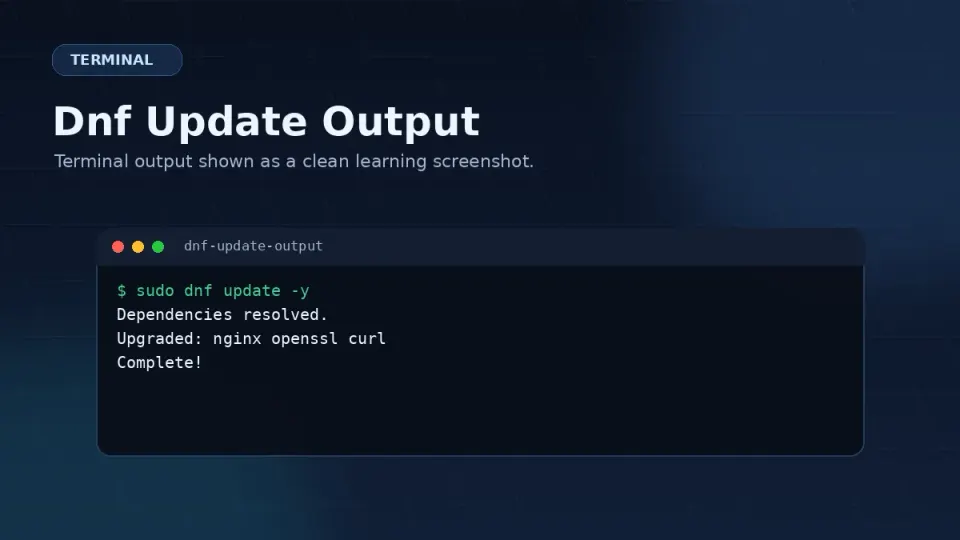
Rocky Linux:
sudo dnf update -yUbuntu:
sudo apt update && sudo apt upgrade -yThe -y flag automatically answers yes to all prompts. This takes 1–5 minutes depending on how many packages need updating.
Reboot if the kernel updated:
sudo rebootCheck if a kernel update was included — look for lines containing kernel in the update output. If the kernel updated, reboot applies it. The server comes back in about 60 seconds.
# Reconnect after reboot
ssh root@your-server-ip
Step 2 — Create a Non-Root User
Working as root is convenient and dangerous. Root has unrestricted access to everything. A typo in a command, a compromised session, or an accidentally run script has full system consequences.
Create a regular user and give it sudo access instead:
# Create user — replace 'steven' with your preferred username
useradd -m -s /bin/bash steven

# Set a password
passwd steven

# Add to wheel group (sudo access on Rocky Linux)
usermod -aG wheel stevenVerify the user was created:
id steven
# Output: uid=1000(steven) gid=1000(steven) groups=1000(steven),10(wheel)
The wheel group in the output confirms sudo access.
Step 3 — Copy Your SSH Key to the New User
Your SSH key is currently in /root/.ssh/authorized_keys. The new user needs their own copy.
# Create the .ssh directory for the new user
mkdir -p /home/steven/.ssh

# Copy the authorized_keys file
cp /root/.ssh/authorized_keys /home/steven/.ssh/authorized_keys

# Set correct ownership and permissions
chown -R steven:steven /home/steven/.ssh
chmod 700 /home/steven/.ssh
chmod 600 /home/steven/.ssh/authorized_keys
Step 4 — Test Login as New User
Before closing your root session, open a new terminal window and test:
ssh steven@your-server-ipYou should connect without a password prompt (using your SSH key). Once connected, test sudo:
sudo dnf update
# Should ask for your user password and then work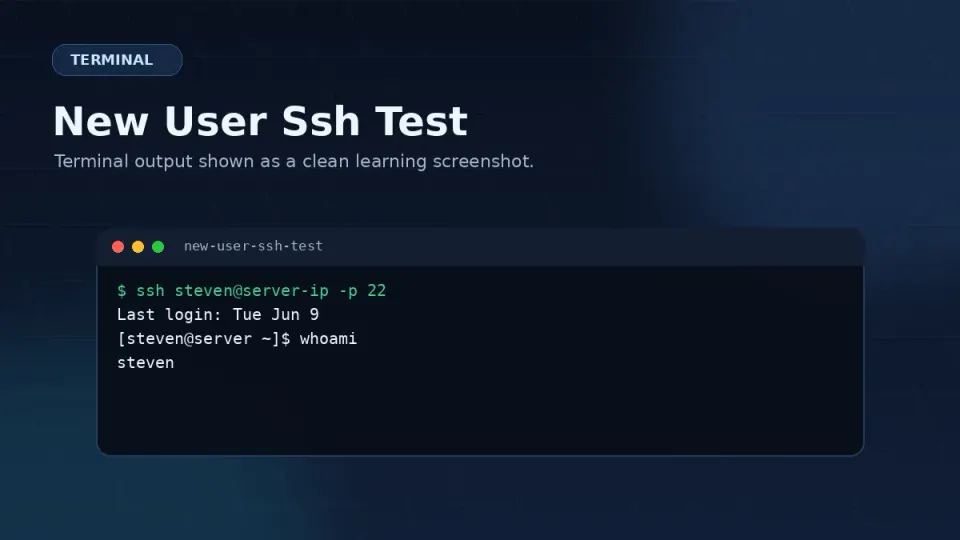
Step 5 — Set a Hostname
The default Vultr hostname is a random string like vps-abc123-def456. Change it to something meaningful:
sudo hostnamectl set-hostname vps-mainUpdate /etc/hosts to match:
sudo nano /etc/hostsFind the line with the old hostname and update it:
127.0.1.1 vps-mainSave (Ctrl+O, Enter, Ctrl+X) and verify:
hostname
# Output: vps-main
The new hostname appears in your terminal prompt after you reconnect:
[steven@vps-main ~]$When you have multiple servers, a meaningful hostname makes it immediately obvious which one you’re on.
The Completed Checklist
Before moving to Part 3, confirm:
- System packages updated (
dnf updatecompleted) - Non-root user created with sudo access
- SSH key copied to new user’s authorized_keys
- New user SSH login tested and working
- Hostname set to something meaningful
If all five are checked, Part 3 — server security — starts from a clean, current foundation.
Part 2 Complete
Part 2 covered everything from choosing a provider to being logged into a properly set up server. You’ve gone from a blank Vultr account to a running Rocky Linux VPS with a non-root user, updated packages, and SSH key authentication.
Part 3 locks down the server before you install anything else — SSH port change, firewall, Fail2ban, and disabling root password login entirely. The failed login attempts you may have already seen in your auth log are the reason Part 3 comes before anything else.