
The moment you SSH into a server for the first time is a small but real milestone. Your keyboard is controlling a computer in a datacenter somewhere else in the world. Commands you type execute on hardware you’ve never touched.
This article gets you to that moment — and tells you what you’re looking at when you get there.
Before You Connect — What You Need
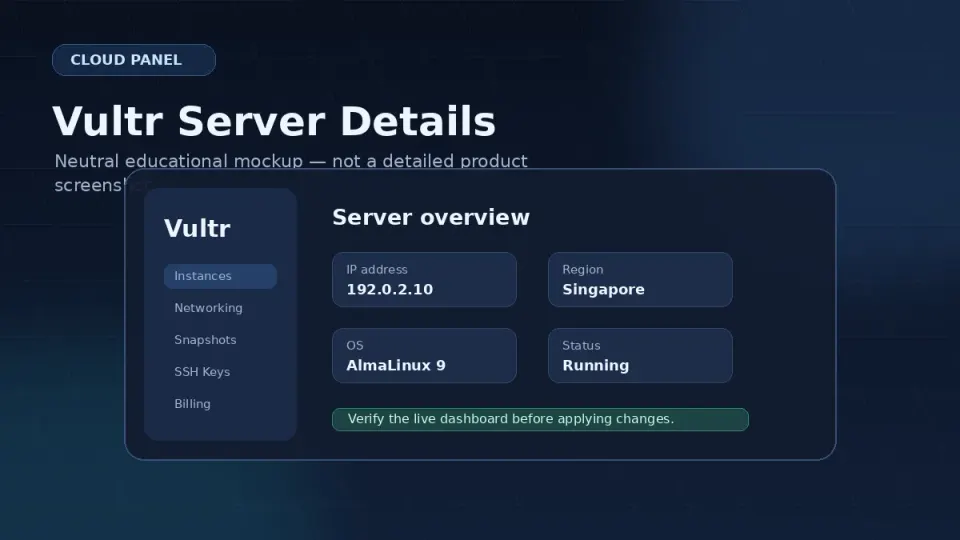
From the Vultr dashboard, find your server and note:
- Server IP address — shown on the server overview page
- Root password — sent to your email when the server was created, or visible in the Vultr dashboard under your server details
If you already copied your SSH key to the server (Part 2.5), you won’t need the password. If not, use it for this first connection.
Connecting — Mac and Linux
Open Terminal and run:
ssh root@your-server-ipReplace your-server-ip with the actual IP. Example:
ssh root@45.32.100.200First connection — fingerprint warning:
The authenticity of host '45.32.100.200 (45.32.100.200)' can't be established.
ED25519 key fingerprint is SHA256:xxxxxxxxxxxxxxxxxxxxxxxxxxxxxxxxxxxxxx
Are you sure you want to continue connecting (yes/no/[fingerprint])?
Type yes and press Enter. This saves the server’s fingerprint to your known_hosts file. You won’t see this again for this server.
Password prompt (if using password auth):
root@45.32.100.200's password:Type the root password. Nothing appears as you type — no dots, no asterisks. This is normal. Press Enter when done.
Success:
[root@vps-hostname ~]#You’re in.
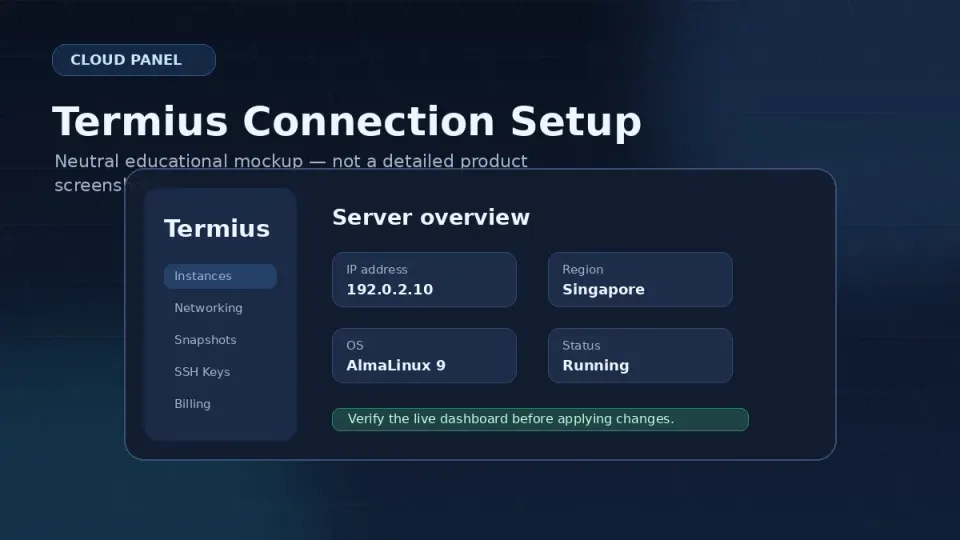
Connecting — Termius
- Open Termius and click New Host
- Fill in:
- Label: Something memorable (e.g. “Vultr Main VPS”)
- Hostname: Your server IP
- Username: root
- Password: Your Vultr root password (or select SSH Key if you set one up)
- Click Connect
Accept the fingerprint warning the same way — click “Continue” or “Trust”.
Connecting — Windows Terminal
Open Windows Terminal and run the same command:
ssh root@your-server-ipThe process is identical to Mac. Accept the fingerprint, enter the password, see the prompt.
What You’re Looking At
After a successful connection, you’ll see something like:
Last login: Mon Jun  1 10:00:00 2026 from 1.2.3.4

[root@vps-abc123 ~]#
Breaking it down:
Last login— when and from where the last connection was maderoot— you’re logged in as the root uservps-abc123— the server’s hostname (Vultr assigns a random one; you can change it)~— you’re in the root user’s home directory#— you have root (admin) privileges
The cursor blinks after the #. The server is waiting for your input.
The Failed Login Messages
On many new servers, the first time you connect you’ll see something like this just above your prompt:
Last failed login: Mon Jun  1 09:47:23 UTC 2026 from 185.220.xxx.xxx on ssh:notty
There were 47 failed login attempts since the last successful login.
Or in the auth log:
sudo tail -20 /var/log/secureJun 1 09:40:01 sshd[1234]: Failed password for root from 193.32.xxx.xxx port 54321 ssh2
Jun 1 09:40:03 sshd[1235]: Failed password for admin from 45.142.xxx.xxx port 12345 ssh2
Jun 1 09:40:05 sshd[1236]: Failed password for ubuntu from 198.98.xxx.xxx port 23456 ssh2Different IPs, different usernames, continuous attempts. These are automated bots — software that scans the internet for servers accepting password authentication on port 22 and tries common credentials against them.
This is not a targeted attack on you specifically. It’s background noise on the internet that every new server receives within minutes of going online.
It’s also the clearest possible illustration of why Part 3 — changing the SSH port, disabling root password login, and setting up SSH key-only authentication — is not optional. Password auth on port 22 is an open invitation to this traffic.
Common Errors and Fixes
Connection refused
ssh: connect to host 45.32.100.200 port 22: Connection refusedMost common cause for a brand new server: it’s still provisioning. Vultr shows the server as “Running” before all services are started. Wait 60 seconds and try again. This fixes it almost every time.
If it persists: check the Vultr firewall settings — port 22 needs to be open for SSH.
Permission denied (publickey)
root@45.32.100.200: Permission denied (publickey)If you set up SSH key authentication and get this: the key isn’t in authorized_keys on the server, or the key file permissions are wrong on your local machine. Run ssh -v root@your-ip for verbose output showing exactly where authentication fails.
Host key verification failed
WARNING: REMOTE HOST IDENTIFICATION HAS CHANGED!The server’s fingerprint doesn’t match what’s saved. Usually happens after rebuilding the server. Fix:
ssh-keygen -R your-server-ipThen reconnect — you’ll see the fingerprint warning again, type yes.
What Next
You’re connected. The next article covers the first things to do on a fresh server — update the system, create a non-root user, and set a hostname. These steps take about 10 minutes and prepare the server for everything in Part 3 and beyond.
Frequently Asked Questions
What is 'Connection refused' and how do I fix it?
Why do I see failed login attempts in the terminal after connecting?
What does 'WARNING: REMOTE HOST IDENTIFICATION HAS CHANGED' mean?
Can I use Termius instead of Terminal for the first connection?
A developer-friendly cloud VPS provider with simple instances, predictable infrastructure building blocks, and global locations. This is the kind of hosting I use when I want to own the WordPress stack instead of renting a polished control panel.
Get Vultr →Affiliate link — I may earn a commission at no cost to you.