An SSH key is a pair of cryptographic files that work together to authenticate you to a server — no password required.
The private key stays on your machine. It never leaves. Never share it.
The public key goes on the server. It’s safe to copy anywhere — it’s designed to be shared.
When you connect, your SSH client uses the private key to prove you hold the matching pair. The server checks the public key it has stored. If they match, you’re in. No password exchange, nothing transmitted that could be intercepted.
Why SSH Keys Instead of Passwords
Password authentication has a fundamental problem: the password has to travel from your machine to the server during login. It’s encrypted by SSH, but it still exists as a credential that can be brute-forced, leaked, or guessed.
SSH key authentication doesn’t work that way. The private key never leaves your machine. Authentication happens through cryptographic challenge-response — the server sends a challenge encrypted with your public key, your client decrypts it with the private key and sends back the response. The private key itself is never transmitted.
For a VPS, this matters because:
- Bots continuously scan port 22 attempting password brute-force attacks
- A strong SSH key is mathematically infeasible to crack
- No password means no password to leak or forget
Part 3 disables password authentication entirely and keeps only key-based access.
Step 1 — Generate the Key Pair
Open Terminal (Mac/Linux) or Windows Terminal, and run:
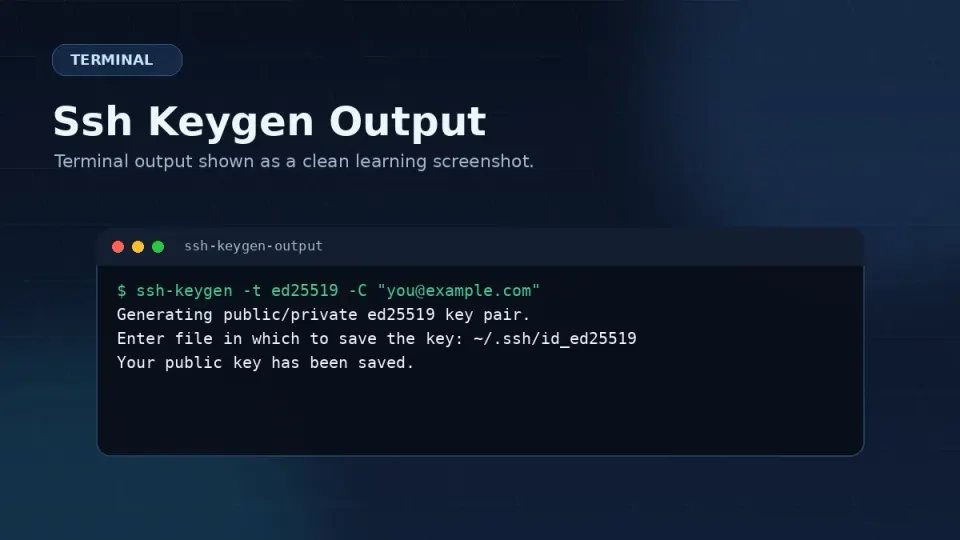
ssh-keygen -t ed25519 -C "vultr-vps-main"-t ed25519specifies the key type. ed25519 is the current recommended algorithm — shorter keys, equivalent or better security than RSA-C "vultr-vps-main"adds a label to the key so you can identify it later
You’ll see:
Generating public/private ed25519 key pair.
Enter file in which to save the key (/Users/yourname/.ssh/id_ed25519):
Press Enter to accept the default location (~/.ssh/id_ed25519).
Enter passphrase (empty for no passphrase):A passphrase encrypts your private key file — if someone gets access to your machine, they’d still need the passphrase to use the key. For a personal VPS, adding a passphrase is worthwhile. Press Enter twice to skip it if you prefer.
Output:
Your identification has been saved in /Users/yourname/.ssh/id_ed25519
Your public key has been saved in /Users/yourname/.ssh/id_ed25519.pub
The key fingerprint is:
SHA256:xxxxxxxxxxxxxxxxxxxxxxxxxxxxxxxxxxxxxxxxxxx vultr-vps-main
Two files created:
~/.ssh/id_ed25519— your private key. Never share this~/.ssh/id_ed25519.pub— your public key. This goes on the server
Step 2 — View Your Public Key
Before copying the key to your server, look at what you’re copying:
cat ~/.ssh/id_ed25519.pubOutput:
ssh-ed25519 AAAAC3NzaC1lZDI1NTE5AAAAIxxxxxxxxxxxxxxxxxxxxxxxxxxxxxxxxxxxxxxxx vultr-vps-mainThis is the public key — one long line starting with ssh-ed25519. This is what goes on the server.
Step 3 — Copy the Public Key to Your Server
You have two options depending on whether password authentication is still enabled on your server.
Option A — Using ssh-copy-id (easiest, requires password access)
ssh-copy-id root@your-server-ipThis command connects to the server using password authentication, creates ~/.ssh/authorized_keys if it doesn’t exist, and appends your public key to it automatically.
Enter your root password when prompted. Done.
Option B — Manual copy (when ssh-copy-id isn’t available)
On Windows or if ssh-copy-id fails, copy the public key manually:
# On your local machine, display the public key
cat ~/.ssh/id_ed25519.pub

# Copy the entire output line
Then SSH into the server with your password and run:
# On the server
mkdir -p ~/.ssh
chmod 700 ~/.ssh
echo "paste-your-public-key-here" >> ~/.ssh/authorized_keys
chmod 600 ~/.ssh/authorized_keys
Step 4 — Test the Key
Before closing your current session, open a new terminal window and test:
ssh root@your-server-ipIf the key is working, you’ll connect without being asked for a password. If you added a passphrase, you’ll be prompted for that instead.
Important: Don’t close your existing session until you’ve confirmed the key works. If something went wrong and you close your session without a backup login method, you’d need to use Vultr’s web console to recover.
The “Different Computer” Problem
SSH keys are tied to the machine that generated them. The private key lives in ~/.ssh/ on that specific computer. When you connect from a different machine, it doesn’t have the private key, and authentication fails.
This surprises people the first time it happens. You set up everything correctly, it works on your main computer, then you try to connect from your laptop or a friend’s machine and get permission denied.
Two ways to handle this:
Option 1 — Copy your private key to the other machine
# On the machine with the key, display it
cat ~/.ssh/id_ed25519

# On the new machine, create the file
nano ~/.ssh/id_ed25519
# Paste the content, save

# Set correct permissions
chmod 600 ~/.ssh/id_ed25519
Be careful moving private keys. Only copy to machines you control and trust.
Option 2 — Generate a new key on the other machine and add it
# On the new machine
ssh-keygen -t ed25519 -C "vultr-vps-laptop"

# Add the new public key to authorized_keys on the server
# (requires you to connect from your main machine first, or use Vultr console)
echo "new-public-key-content" >> ~/.ssh/authorized_keys
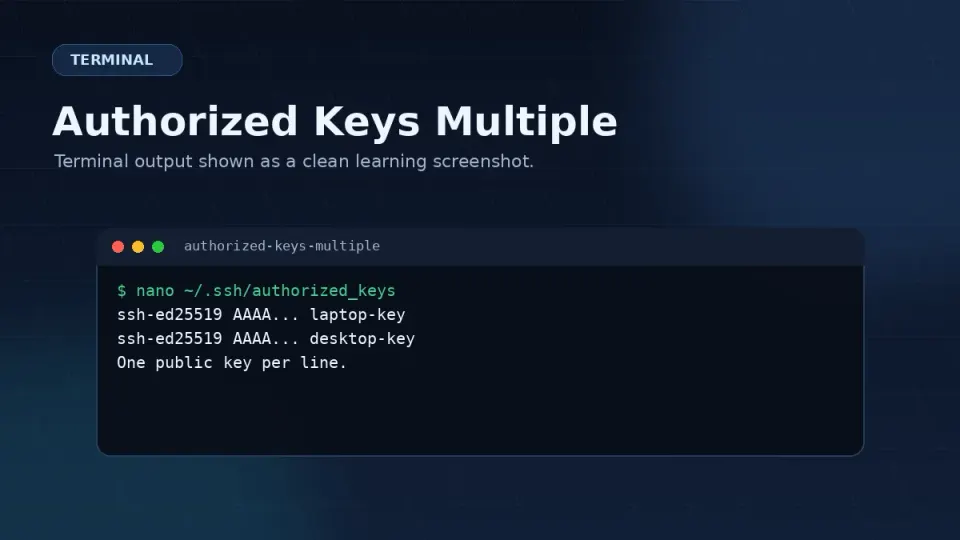
One server can have multiple public keys in authorized_keys — one per line. Each machine gets its own key pair.
Where to Back Up Your Private Key
The private key lives in ~/.ssh/id_ed25519. If you lose it and have no other authentication method, you lose SSH access to your server until you recover it via Vultr’s console.
Practical backup options:
- Encrypted USB drive — physical backup, air-gapped from the internet
- iCloud / Google Drive in an encrypted archive — convenient but requires trusting the cloud service
- Password manager with secure notes — some password managers support file storage
The key question: if your laptop died today, could you access your server tomorrow?
If the answer is no, back up your key before continuing.
Next Step
With an SSH key created and copied to your server, you’re ready to connect without a password. The next article walks through the first connection — what you’ll see, what to do, and the few things worth setting up immediately after you’re in.