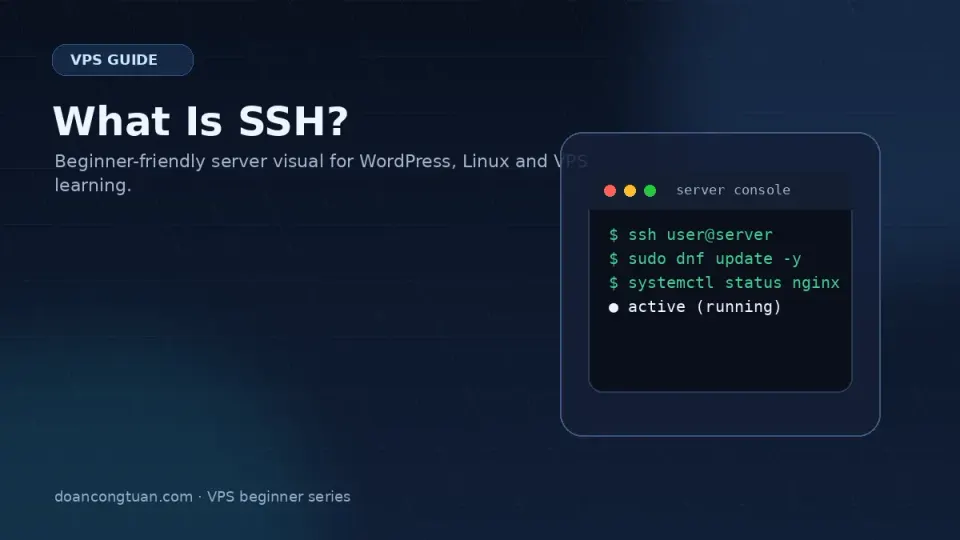
SSH stands for Secure Shell. The name describes it accurately, but abstractly.
Here’s a more concrete description: SSH is how your laptop talks to a server in Singapore.
When you SSH into a VPS, you’re opening a direct, encrypted line of communication between your local machine and a computer that’s physically located in a datacenter somewhere else in the world. You type a command. It travels through that encrypted line. The server executes it and sends back the output.
That’s it. Everything else about SSH — keys, ports, config files — is built on top of that basic concept.
Why Encryption Matters
Without encryption, someone monitoring the network between you and your server could see every command you type, including passwords.
SSH uses public-key cryptography to create an encrypted tunnel. The data traveling between your machine and the server is scrambled in a way that makes it unreadable to anyone intercepting it. The server decrypts it using a key that never leaves the server.
This is why SSH replaced older protocols like Telnet for server access. Telnet sent everything in plain text. SSH doesn’t.
How an SSH Connection Works
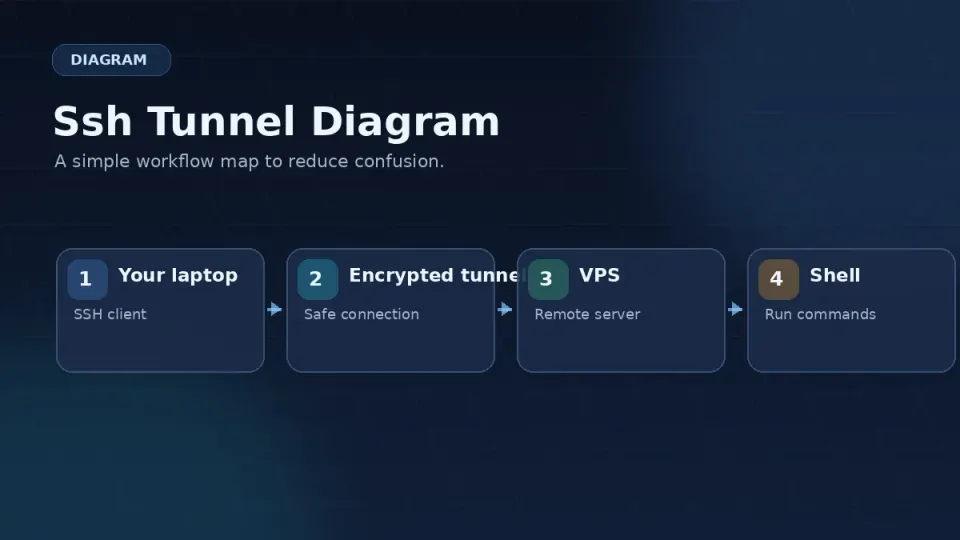
When you connect to a VPS via SSH:
- Your SSH client sends a connection request to the server’s IP address on port 22
- The server responds with its public key (fingerprint)
- Your client verifies this fingerprint — first connection asks you to confirm, subsequent connections check against the saved fingerprint automatically
- Authentication happens — either password or SSH key (covered in the next article)
- An encrypted session opens and you see the terminal prompt
The whole process takes about two seconds.
The Fingerprint Warning
The first time you connect to a new server, you’ll see something like this:
The authenticity of host '45.32.xxx.xxx (45.32.xxx.xxx)' can't be established.
ED25519 key fingerprint is SHA256:xxxxxxxxxxxxxxxxxxxxxxxxxxxxxxxxxxxxxxxxxxx
Are you sure you want to continue connecting (yes/no/[fingerprint])?
This is SSH doing its job. It’s telling you: “I’ve never connected to this server before. Here’s its fingerprint. Is this the server you meant to connect to?”
For a server you just provisioned on Vultr, type yes and press Enter.
After that, SSH saves the fingerprint to ~/.ssh/known_hosts. Future connections to the same server skip the warning because the identity is already verified.
The SSH Command
Connecting to a server from Mac Terminal or Linux:
ssh root@45.32.xxx.xxxThe structure: ssh username@server-ip
rootis the username — the user you’re connecting as45.32.xxx.xxxis your VPS IP address (find it in the Vultr dashboard)
If you changed the SSH port from 22 (which Part 3 covers), add -p followed by the port:
ssh -p 2222 root@45.32.xxx.xxxSSH Clients — What to Use
Mac Terminal (built-in)
Mac Terminal supports SSH natively. Open Terminal and type the ssh command above — nothing to install.
The limitation: no saved connections. Every session, you type the full IP address. When you have one server, this is fine. When you have multiple, it gets tedious fast.
Termius (recommended for VPS work)
Termius is a dedicated SSH client that saves server connections with labels. You set up a connection once — hostname or IP, username, authentication method — and connect with one click next time.
The free tier covers everything in this series. Download at termius.com.

Why I switched to Termius: I kept going back to the Vultr dashboard to find my server’s IP address. Every session. Termius stores it. That one inconvenience was enough to change tools.
Windows Terminal + OpenSSH
On Windows 10/11, OpenSSH is available as a built-in feature. Windows Terminal provides a good interface for it.
Enable OpenSSH in Settings → Apps → Optional Features → OpenSSH Client. Then use the same ssh command syntax as Mac.
PuTTY (Windows — legacy option)
PuTTY works and has worked for decades. The interface is dated but functional. If you already know PuTTY, use it. If you’re starting fresh on Windows, Windows Terminal + OpenSSH or Termius are cleaner experiences.
What You Need Before Connecting
Three things:
1. Your server’s IP address — found in the Vultr dashboard under your server’s details. Save it somewhere before you need it.
2. Your login credentials — by default, root user with the password Vultr assigned (shown once after server creation, also emailable). Part 2.5 replaces password authentication with SSH keys.
3. An SSH client — Terminal on Mac, or Termius if you want saved connections.
That’s everything. The next article covers SSH keys — a more secure authentication method that replaces the root password.